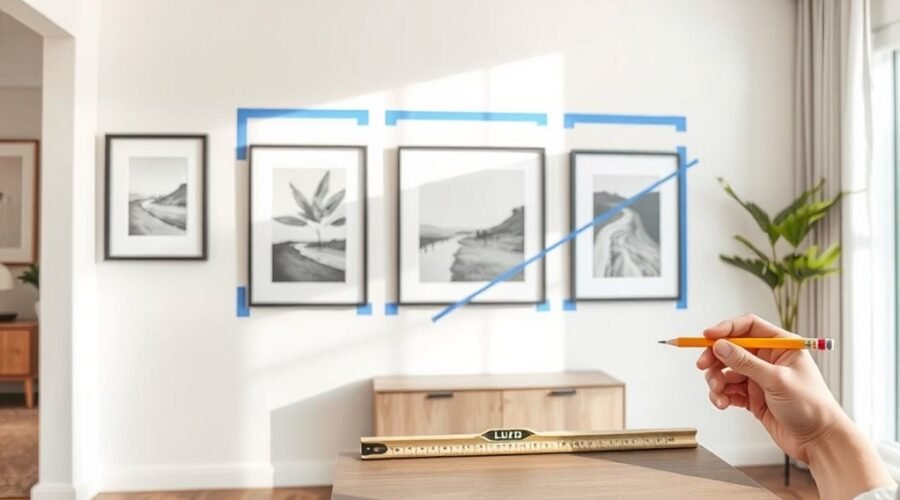
You can hang a gallery wall neatly without covering the wall in test holes. The easiest method is to plan the full arrangement first, make paper templates for every frame, position the entire grouping at a comfortable viewing height, and transfer each hanger point only after the layout looks right. The final step is choosing mounting hardware that matches each frame and wall.
Quick Answer
To hang a gallery wall evenly, arrange the frames on the floor, trace each one onto paper, tape the templates to the wall, and keep the gaps consistent. Treat the entire grouping as one piece of art, then mark the actual hanger locations and install hardware rated for each frame’s weight and wall type.
Key Takeaways
- Arrange the full gallery on the floor before making holes in the wall.
- Make and label paper templates so you can test the composition at full size.
- A 2–3-inch gap is a useful starting point, but consistent spacing matters more than one exact number.
- On an open wall, place the visual center of the entire grouping roughly 57–60 inches from the floor as a starting point.
- Measure the actual hanger position on the back of every frame; the nail or hook usually will not sit at the frame’s center.
- Use mounting hardware that is compatible with the wall material and rated for the frame’s weight.
At a Glance
| Time Required | About 30–90 minutes for a small-to-medium gallery wall |
| Difficulty | Easy to moderate |
| Tools Needed | Tape measure, kraft or wrapping paper, painter’s tape, scissors, pencil, level, and suitable hanging hardware; hammer or drill if your chosen fasteners require one |
| Cost | About $0–$30 for planning and hanging supplies if you already own the frames and basic tools |
Gather Your Gallery Wall Supplies
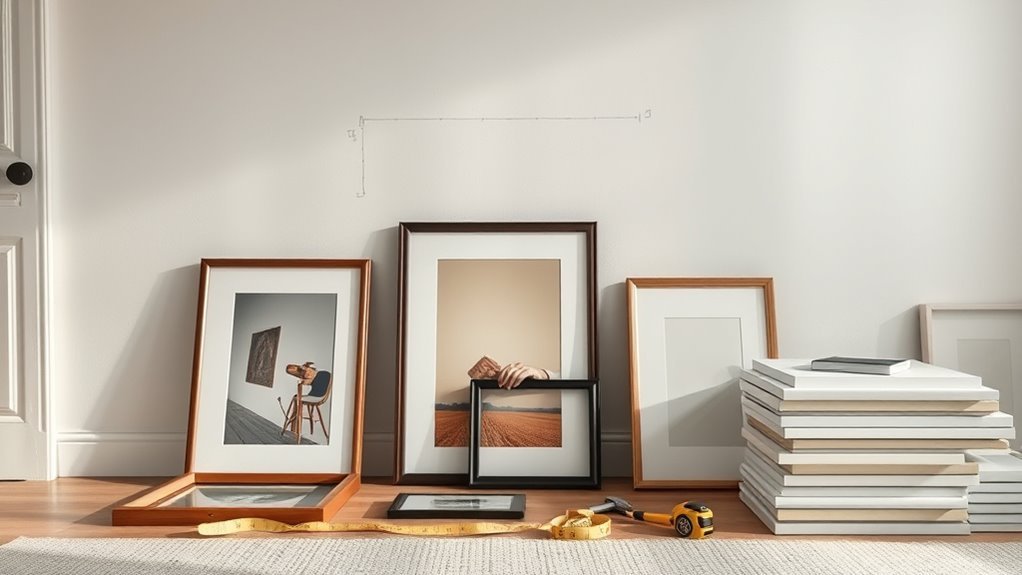
Before you hang a single frame, collect everything you need so you can finish the layout without stopping halfway. A basic kit includes a measuring tape, wrapping paper or kraft paper for templates, painter’s tape, scissors, a pencil, a level, and the mounting hardware required for your frames.
You may also need a hammer, drill, suitable drill bits, anchors, screws, picture hooks, or adhesive picture-hanging products. The correct combination depends on the wall material, the frame weight, and the hardware already attached to the back of the frame.
Before choosing a hanger, inspect every frame. Check whether it uses picture wire, D-rings, a sawtooth hanger, keyhole slots, or another mounting system. Weigh heavier frames if you do not know their weight, and check that the frame and its existing hardware are secure.
Trace each frame onto paper, cut an accurate template, and mark the frame’s real hanger location on the paper before the template goes on the wall.
Choose the Right Hardware for Each Frame and Wall
A gallery wall is only as secure as its mounting hardware. Do not choose a nail, hook, anchor, or adhesive product only because it is convenient. Match it to both the frame weight and the wall material.
| Situation | What to Check |
|---|---|
| Light frame on drywall | Use a picture hanger or another fastener specifically rated for the frame and drywall installation. |
| Heavier frame | Use appropriately rated mechanical hardware; fastening into a stud may be preferable when the location allows it. |
| Plaster, masonry, brick, or concrete | Use hardware and drilling methods made for that wall material rather than treating it like drywall. |
| Picture wire | Measure where the wire reaches when pulled upward under tension because the wire drops below the top edge of the frame. |
| D-rings or two mounting points | Measure both points carefully and keep them level with each other. |
| Adhesive hanging products | Verify the exact product’s weight, frame-size, surface, temperature, and preparation requirements. |
Warning: Do not rely on an unrated fastener or improvised adhesive for a heavy, valuable, glass-fronted, or irreplaceable piece. Follow the mounting-hardware manufacturer’s instructions. If a large or unusually heavy piece could injure someone if it fell, use an appropriate mechanical mounting system or hire a professional installer.
Plan Your Gallery Wall Layout on the Floor
Spread all your frames on the floor in front of the wall where you plan to hang them. Moving frames on the floor is much easier than moving hangers after they are installed.
Start with your largest or most visually important piece, then build the rest of the arrangement around it. You can create a symmetrical grid, a loose organic grouping, or a combination of horizontal and vertical frames. The best layout is the one that looks balanced from normal viewing distance.
A gap of about 2–3 inches between neighboring frame edges is a useful starting point for many home gallery walls. It is not a mandatory rule. Smaller pieces may look better slightly closer together, while large pieces may need more breathing room. What matters most is that the spacing looks deliberate and stays reasonably consistent.
Take a photo of the floor layout before moving anything. The photo gives you a reference when you begin transferring the design to the wall.
Find the Visual Center of the Whole Gallery
When the gallery is going on an open wall, treat the entire arrangement as if it were one large piece of artwork. Measure the overall height of the grouping and find its visual center.
A practical starting point is to place that center roughly 57–60 inches from the floor. This is a guideline rather than an absolute rule. The Getty notes that museums traditionally work around an adult eye height of about 60 inches and may place objects higher or lower depending on the display.
Note: The 57–60-inch measurement refers to the visual center of the artwork or the whole gallery-wall grouping. It is not the height where every nail or hook should be installed.
Adjust the Height When Furniture Is Below the Gallery
If the gallery wall sits above a sofa, console, headboard, bench, or other large piece of furniture, judge the artwork together with that furniture. A rigid eye-level measurement can leave the gallery looking disconnected from what is below it.
Tape your paper layout to the wall first, step back, and make sure the grouping feels visually connected to the furniture without crowding it. Keep enough clearance that normal use of the furniture will not bump the frames.
Plan a Gallery Wall on Stairs
For a staircase gallery wall, use the stair angle as your visual guide rather than trying to keep every frame on one horizontal line. Arrange the paper templates so the overall grouping rises with the stairs while the gaps between neighboring pieces remain consistent.
Make Paper Templates for Each Frame
Turn each frame into a full-size paper template by placing it on wrapping paper or kraft paper, tracing the outline, and cutting out the shape carefully.
- Make one template for every frame and label it so you know which artwork it represents.
- Mark the top of each template so you do not accidentally rotate it later.
- Measure the hanging hardware on the back of the real frame and transfer the hanger point or points to the paper.
- If the frame uses wire, pull the wire upward as it will sit when hung, then measure the distance from the frame’s top edge to that taut wire position.
- Tape the templates to the wall with painter’s tape and reproduce the floor layout.
- Measure the gaps between neighboring templates and adjust them until the spacing looks consistent.
- Check the entire grouping with a level and tape measure before making any holes.
Pro Tip: Do not remove all the templates before marking the hardware locations. Put the nail, hook, screw, or anchor mark directly through the hanger point you transferred to each template. That prevents the common mistake of centering the nail behind the frame instead of placing it where the actual hanging hardware sits.
Mark the Wall and Hang the First Frame
Once the full template arrangement looks right, start with an anchor frame near the center of the composition. This makes it easier to build outward while keeping the spacing under control.
| Step | What You Do | Why It Helps |
|---|---|---|
| Center | Confirm the visual center of the whole grouping | Anchors the layout |
| Guide | Keep the paper templates taped in place | Reduces guesswork |
| Mark | Transfer the actual hanger position through the template | Places the hardware correctly |
| First hang | Install the correct rated hanger | Creates a stable starting point |
| Check | Use a level after hanging the frame | Prevents visible tilt |
| Space | Compare the frame edge with neighboring templates | Keeps the gaps consistent |
Install the first hanger according to its instructions, place the frame on it, and check the frame with a level. Do not install every fastener at once. Working one frame at a time makes it easier to correct a small measurement error before it affects the rest of the gallery.
How to Calculate a Hook Position for Picture Wire
If a frame uses picture wire, the nail or hook usually sits above the desired center line. To find the location accurately:
- Choose the desired center height for the frame or determine where that individual frame sits within your gallery layout.
- Measure the frame’s total height and divide it by two.
- Pull the picture wire upward under tension and measure how far it sits below the top of the frame.
- Calculate the top edge position, then subtract the wire drop to find the hook height.
For example, if a 24-inch-tall frame should have its center at 60 inches, its top edge would be 72 inches from the floor. If the taut wire sits 3 inches below the frame’s top edge, the hook would be about 69 inches from the floor.
Level and Space Your Gallery Wall Evenly
After the first frame is secure, work outward one piece at a time. Use your measuring tape, level, and remaining paper templates to keep the gallery aligned.
Measure from frame edge to frame edge rather than comparing only the centers. This is especially important when the gallery uses several frame sizes because equal center-to-center measurements can still create visibly uneven gaps.
- Hang one frame.
- Check that it is level.
- Measure its gap from the neighboring template or frame.
- Correct the position before installing the next hanger.
- Repeat until the entire gallery is installed.
Once every frame is up, step back several feet and look at the overall silhouette. Small adjustments that are hard to notice close to the wall become obvious from normal viewing distance.
Using Command Strips for a Gallery Wall
Adhesive picture-hanging products can work well when the exact product is designed for your frame, wall surface, frame size, and weight. Do not assume every Command product has the same capacity.
According to 3M’s current weight-limit guidance, capacities vary by product. For example, current X-Large Picture Hanging Strips are available in a configuration in which four pairs are rated for a frame up to 20 pounds and 24 × 36 inches. Always follow the limit printed for the exact product you have.
For standard Command Picture Hanging Strips, 3M’s installation instructions say to clean the wall with rubbing alcohol, wait seven days after painting, press the strips as directed, temporarily remove the frame to reinforce the wall strips, and wait one hour before rehanging the frame.
3M also says not to use its Picture Hanging Strips over beds, on wallpaper, or for valuable or irreplaceable items. Follow the package because instructions can differ between products.
Warning: Do not increase an adhesive product’s claimed capacity by improvising with extra strips, putty, tape, or another adhesive unless the manufacturer specifically instructs you to do so.
Troubleshoot Common Gallery Wall Problems
The Frames Look Uneven Even Though the Centers Match
Check the gaps between the actual frame edges. Mixed-size frames often look more balanced when the negative space between pieces is consistent rather than when every center follows a rigid grid.
A Frame Is Level at First but Keeps Tilting
Check the hanging wire, hook, and frame hardware for movement. A small amount of removable frame-bumper material at the lower corners can help prevent a mechanically hung frame from rotating, but it should not be used as the primary support.
The Picture Wire Makes the Frame Hang Too High or Low
Recheck the wire drop while pulling the wire upward under tension. Measuring loose wire is a common cause of misplaced hooks.
The Paper Layout Looked Right but the Real Frames Feel Crowded
Real frames have depth, shadows, and stronger visual weight than paper. If necessary, move the remaining templates slightly farther apart before installing their hardware.
You Marked a Hole in the Wrong Place
Stop before installing the surrounding hangers. Correct the anchor frame first, then remeasure nearby gaps from its finished position. One early error can compound across the whole arrangement if you continue without correcting it.
Frequently Asked Questions
How do you hang a gallery wall evenly?
Lay out the frames on the floor first, trace each frame onto paper, and tape the templates to the wall. Measure the gaps between template edges, mark the real hanger locations through the paper, and install one frame at a time while checking both level and spacing.
How far apart should pictures be on a gallery wall?
About 2–3 inches between neighboring frame edges is a useful starting point, but it is not a fixed rule. Smaller artwork can often sit closer together, while larger frames may need more space. Consistent-looking gaps are more important than one exact measurement.
What can I use to hang pictures without making holes in the wall?
Use a removable picture-hanging product specifically designed for framed artwork and rated for the frame’s weight, size, and wall surface. Follow the manufacturer’s preparation and installation instructions exactly. Removable putty and ordinary tape are better suited to very lightweight paper items than framed artwork.
What is the 57-inch rule for hanging art?
The 57-inch rule is a design guideline that places the center of artwork around eye level. For home use, roughly 57–60 inches from the floor to the visual center is a practical starting range. For a gallery wall, apply that measurement to the center of the whole arrangement rather than to every individual frame.
Can Command Strips hold paintings?
Yes, when the exact Command picture-hanging product is compatible with the painting’s frame, weight, size, and wall surface. Capacities vary. Some current X-Large Picture Hanging Strips are rated for frames up to 20 pounds when four pairs are used as directed. Always follow the rating and instructions on your specific package.
Should every frame in a gallery wall be centered at 57 inches?
No. Treat the gallery wall as one composition. On an open wall, position the visual center of the entire grouping around your chosen eye-level reference, then place individual frames above and below that point according to the layout.
Conclusion
Hanging a gallery wall cleanly is mostly a planning job. Arrange the frames on the floor, make accurate paper templates, mark the real hanger position for each frame, and install the pieces one at a time. Use the 57–60-inch eye-level range as a starting point rather than a rigid rule, keep the gaps visually consistent, and match every fastener or adhesive product to the frame and wall. A careful setup takes longer than guessing, but it produces straighter frames, fewer unnecessary holes, and a gallery wall that looks intentional when you step back.
Sources
- Getty — The Art of Exhibition Design — supports the use of eye-level placement as a flexible museum display guideline.
- 3M Command — How to Use Picture Hanging Strips — supports surface preparation, paint-curing time, application steps, waiting period, and safety restrictions.
- 3M Command — Product Weight Limits Guide — supports the requirement to match hanging products to their stated weight limits.
- 3M Command — 20 lb X-Large Picture Hanging Strips — supports the current 20-pound, four-pair rating and 24 × 36-inch maximum-frame specification for that product.