The order you layer your bed affects both how comfortable it feels and how polished it looks. Build from the mattress upward, keep each layer sized correctly, and use only as many blankets and decorative pillows as you actually enjoy. A fitted sheet, optional flat sheet, main warmth layer, pillows, and a throw are enough to create a bed that feels inviting without looking overdone.
Quick Answer
Layer a bed from the mattress upward: optional topper, mattress protector, fitted sheet, optional flat sheet, duvet or comforter, optional quilt or coverlet, pillows, then a throw. Keep each layer sized to the bed, adjust warmth for the season, and combine two or three coordinated colors or textures for a polished look.
Key Takeaways
- Start with the mattress, add an optional topper, then use a protector and a fitted sheet that can accommodate the total depth.
- A flat sheet is optional. If you use one, place the finished side down so it shows neatly when folded back.
- Use a duvet, comforter, quilt, or coverlet as the main warmth layer and adjust its weight for the season.
- Arrange sleeping pillows first, then Euro shams or standard shams, followed by one or two decorative accents.
- Finish with a throw at the foot or corner of the bed to add useful warmth, texture, and contrast.
At a Glance
| Time Required | About 10–15 minutes once your bedding is clean and ready |
| Difficulty | Easy |
| Tools Needed | No tools; just your bedding layers |
| Cost | No additional cost if you use bedding you already own; otherwise it varies by material and brand |
The Best Order for Layering Bedding
For most beds, the simplest bottom-to-top order is:
- Mattress
- Mattress topper, if you use one
- Mattress protector
- Fitted sheet
- Flat or top sheet, if preferred
- Light blanket, coverlet, duvet, comforter, or quilt
- Sleeping pillows and shams
- Decorative pillows
- Throw blanket
You do not need every layer. The goal is to create a bed that suits your preferred temperature and style rather than stacking bedding simply for appearance.
Note: A top sheet is optional. If you sleep directly under a washable duvet cover, you may prefer to skip it. If you like an extra lightweight layer or want another barrier between your body and the duvet, keep it.
Start With the Mattress, Topper, and Protector
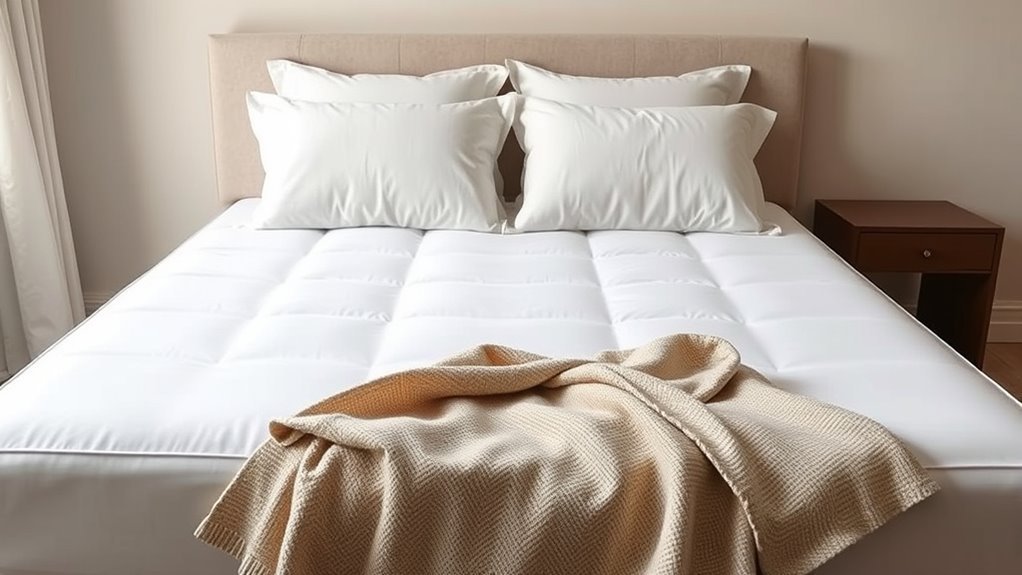
Start with a comfortable mattress that suits the way you sleep. If you want to change the surface feel, place a mattress topper directly on the mattress before adding your sheet layers. Toppers are designed to add cushioning or alter the feel of a mattress; they are different from thin protective covers. Saatva explains the functional differences between toppers, pads, and protectors.
Next, add a mattress protector. A waterproof protector can help guard the mattress against liquid spills and stains. If dust-mite exposure is a concern, look specifically for a zippered allergen-barrier or dust-mite-proof encasement rather than assuming that every waterproof protector offers the same allergen protection. Mayo Clinic recommends allergen-proof mattress and pillow covers for dust-mite control.
If you use a topper, check that the protector and fitted sheet are deep enough to fit over the combined mattress-and-topper height. Some products have their own placement instructions, so follow the manufacturer’s directions when they differ.
Then choose a fitted sheet that hugs the corners without pulling loose. Measure the mattress depth, including any topper, before buying deep-pocket sheets.
Check the mattress, topper, and protector periodically for stains, tears, stretched elastic, or other wear. Clean and replace them according to their condition and the manufacturer’s care instructions.
Pro Tip: If your fitted sheet repeatedly slips off, the problem may be pocket depth rather than your bed-making technique. Measure from the bottom of the mattress to the top of the topper before choosing the sheet.
Layer Sheets for a Polished Look
With the mattress and protector in place, pull the fitted sheet smoothly over all four corners. Cotton, linen, and blends can all work well; choose the material based on feel, care requirements, and how warm or cool you prefer to sleep.
Neutral colors such as white, ivory, beige, gray, or stone make it easy to change accent colors later, but they are not a requirement. A coordinated patterned sheet can work just as well if it fits the room.
If you use a flat sheet, place it with the finished or decorative side facing down. When you fold the top edge back over the duvet or blanket, the finished side will face upward. Center the sheet so the overhang is even, then tuck the bottom and sides if you prefer a tailored look.
For extra warmth or texture, add a lightweight blanket or coverlet above the flat sheet. Keep this layer thin enough that you can fold it back or remove it easily when the room becomes warmer.
Add a Duvet, Comforter, or Quilt
Choose the main warmth layer based on your climate and sleep temperature. A duvet uses a removable cover around an insert, a comforter is typically one sewn piece, and a quilt or coverlet is generally thinner and works well as either a primary warm-weather layer or a decorative layer over another blanket.
| Choice | Best Use |
|---|---|
| Duvet | Adjustable warmth with a removable, washable cover |
| Comforter | Simple one-piece top layer |
| Quilt or coverlet | Lighter warmth, crisp texture, or an extra decorative layer |
| Two single duvets | Individual warmth control for two people sharing a larger bed |
| Folded-back top layer | Shows the sheet or blanket underneath and adds visual depth |
Drape the main layer evenly across the bed. For a relaxed, layered appearance, fold the top portion back enough to reveal the sheet or blanket underneath instead of covering the entire bed with one flat surface.
You can also place a quilt or coverlet over the duvet and fold it across the lower half or lower third of the bed. This creates texture and gives you another usable layer on colder nights.
On a shared bed, two separate single duvets can give each sleeper independent control over warmth and reduce blanket tugging. This arrangement is commonly called the Scandinavian sleep method.
Style Your Pillows and Shams
Dress your sleeping pillows with matching or coordinated pillowcases, then arrange them against the headboard or lay them flat. These should remain the functional pillows you actually sleep on.
Next, add Euro shams if you want more height. Use square Euro pillow inserts inside the shams—not duvet inserts. Two Euro pillows work well on many queen beds, while three can fill the width of many king beds, but the exact number depends on pillow size and how full you want the arrangement to look.
Add a lumbar pillow or another decorative accent to introduce pattern, contrast, or texture. You can use one accent pillow, a pair, or an odd-numbered arrangement. Odd numbers are a styling option, not a rule.
Keep the color palette connected by repeating one or two tones from the duvet, quilt, headboard, curtains, or rug. The pillows do not have to match exactly; variation in texture often looks more natural than a perfectly matched set.
Pro Tip: If removing a large pile of decorative pillows every night becomes annoying, scale the arrangement back. Two sleeping pillows, two shams, and one lumbar pillow can look finished without creating extra work.
Finish With a Throw and Final Touches
Finally, add a throw blanket across the foot of the bed or drape it over one lower corner. The throw can add warmth, texture, and a contrasting color without covering the other layers you have already styled.
Choose a material that works with the season and your maintenance preferences. Woven cotton can be practical and washable, while wool, cashmere, fleece, or chunky knits may provide more warmth but can require different care.
- Place the throw across the foot for an easy, balanced finish.
- Fold it neatly to one side when you want a more tailored decorative look.
- Use a contrasting color, weave, or pattern when the rest of the bedding is simple.
- If you use fabric spray, check the textile and spray directions first and use it sparingly.
Keep the throw reasonably proportional to the bed. It does not need to match the duvet width exactly, but a very narrow throw can look lost on a large bed.
Warning: Fragranced sprays can cause irritation or respiratory symptoms for some people, particularly those with asthma, allergies, migraines, COPD, or fragrance sensitivities. If that applies to you or someone who uses the room, skip scented fabric spray. The American Lung Association recommends reducing fragrance exposure for sensitive individuals.
How to Layer Two Throws on a Bed
If you want to use two throws, make the larger or heavier one the foundation. Fold it across the foot of the bed, then place the smaller throw over one side at a slight angle or fold it more narrowly across the first.
Use contrast deliberately. A smooth cotton throw can sit under a chunky knit, for example, or a solid-color blanket can support a smaller patterned throw. Keep enough of each layer visible that the second throw looks intentional rather than accidental.
Adjust Bedding by Season and Sleep Temperature
A layered bed should be easy to adjust rather than equally heavy all year.
- Warm weather: Use breathable sheets, a lightweight quilt or thin duvet, and a light throw that can be removed easily.
- Cool weather: Add a blanket, fuller duvet, or warmer throw instead of replacing every layer.
- Hot sleeper: Reduce heavy decorative layers around the torso and choose lighter bedding that can be pushed aside easily.
- Cold sleeper: Keep a quilt or throw within reach so you can add warmth without remaking the entire bed.
- Different sleep temperatures: Consider two separate duvets so each sleeper can choose a different weight.
Seasonal layering works best when every blanket has a purpose. If a layer is only decorative and you constantly remove it, consider using texture through shams or one throw instead.
Keep Layered Bedding Clean and Easy to Maintain
Follow the care instructions supplied with your sheets, duvet cover, quilt, throws, topper, and protector because heat and washing requirements vary by material.
If you are specifically managing dust-mite allergy, both Mayo Clinic and the Asthma and Allergy Foundation of America recommend allergen-resistant mattress and pillow covers and regular washing of bedding. Their dust-mite guidance includes hot-water washing at about 130°F (54°C) when the textile can safely tolerate that temperature.
Do not use hot-water allergy recommendations blindly on delicate bedding. Always check the manufacturer’s care directions first. For decorative pillows and throws that are difficult to wash, removable washable covers can make routine care easier.
Frequently Asked Questions
What is the correct order for layering bedding?
A practical order is mattress, optional topper, mattress protector, fitted sheet, optional flat sheet, duvet or comforter, optional quilt or coverlet, sleeping pillows, shams, decorative pillows, and a throw. You do not need every layer; use only what improves comfort or appearance.
How do you layer two throws on a bed?
Place the larger throw across the foot of the bed first. Fold or drape the smaller throw over one side so part of the lower blanket remains visible. Combining different textures or one solid with one pattern creates contrast without making the bed look cluttered.
Why does Gen Z not use top sheets?
Not all Gen Z sleepers avoid top sheets. Some younger sleepers prefer to skip them because it makes the bed faster to make, reduces loose fabric, and works well with a removable duvet cover that can be washed. A top sheet is still useful if you enjoy the feel, want a lighter layer, or prefer an extra barrier beneath the duvet.
How do you layer bedding like a professional?
Start with smooth, correctly sized sheets. Add one main warmth layer, then reveal part of the sheet or quilt by folding the top layer back. Build pillows from functional to decorative, vary textures within a controlled color palette, and finish with one throw at the foot or corner of the bed.
Does a mattress topper go above or below the mattress protector?
A topper normally sits directly on the mattress. A fitted protector can then go over the topper and mattress if it is deep enough, protecting both layers. Some specialty products have different instructions, so check the topper and protector manufacturers when their guidance differs.
Conclusion
When you finish layering your bed, it should feel comfortable first and polished second. Start with the mattress, optional topper, protector, and fitted sheet. Add a flat sheet if you enjoy one, choose a duvet, comforter, or quilt that suits the season, arrange your pillows with purpose, and finish with a throw for texture and extra warmth. The result is a bed that looks considered without becoming difficult to use every night.
Sources
- Mayo Clinic — Dust Mite Allergy: Diagnosis & Treatment — allergen-proof bedding covers and dust-mite-control guidance.
- Asthma and Allergy Foundation of America — Control Indoor Allergens — allergen-barrier covers and bedding-care recommendations.
- Sleep Foundation — Scandinavian Sleep Method — use of separate duvets for two people sharing a bed.
- Saatva — Mattress Topper, Pad, and Protector Differences — functional differences among common mattress layers.
- American Lung Association — Fragrances — fragrance sensitivity and indoor-air considerations.