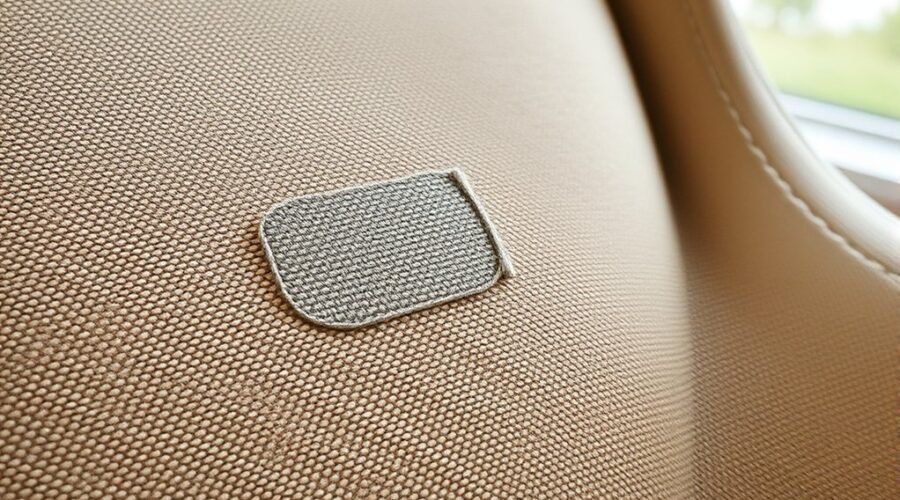
To patch a hole in fabric upholstery discreetly, first identify whether you have an open hole, a simple tear, or a split seam. Clean and dry the area, preserve as much sound fabric as possible, then support an open hole with a hidden backing patch or close a clean tear with matching thread. Use adhesive or heat only when the upholstery and the product instructions allow it.
Quick Answer
For a small hole in fabric upholstery, trim only loose fibers, tuck displaced padding back into place, slide a compatible patch beneath the damaged fabric, and align the pattern or nap. Secure the repair with small hidden stitches or a fabric-safe adhesive, then let it fully set before putting weight or friction on the area.
Key Takeaways
- Do not open an intact seam just because there is a hole nearby; first determine exactly what type of damage you have.
- Use a patch or backing that suits the original fabric’s weight, color, weave, pattern, and nap.
- A ladder or hidden stitch works well when sound fabric edges can be brought together without stretching them.
- Fabric adhesive and fusible products are material-specific, so test them first and follow their exact heat and curing directions.
- Large holes, brittle fabric, damaged frames, springs, mechanisms, or high-tension seams are better handled by a professional upholsterer.
At a Glance
| Time Required | About 20–45 minutes of hands-on work for a small repair, plus any product-specific adhesive curing time |
| Difficulty | Beginner to intermediate, depending on the fabric and location of the damage |
| Tools Needed | Small scissors, curved or suitable hand-sewing needle, matching strong thread, patch or backing fabric, pins or tweezers, and optional fabric-compatible adhesive |
| Cost | Low when matching scrap fabric and basic sewing supplies are already available; specialty repair kits or professional work cost more |
How to Patch a Hole in Fabric Upholstery
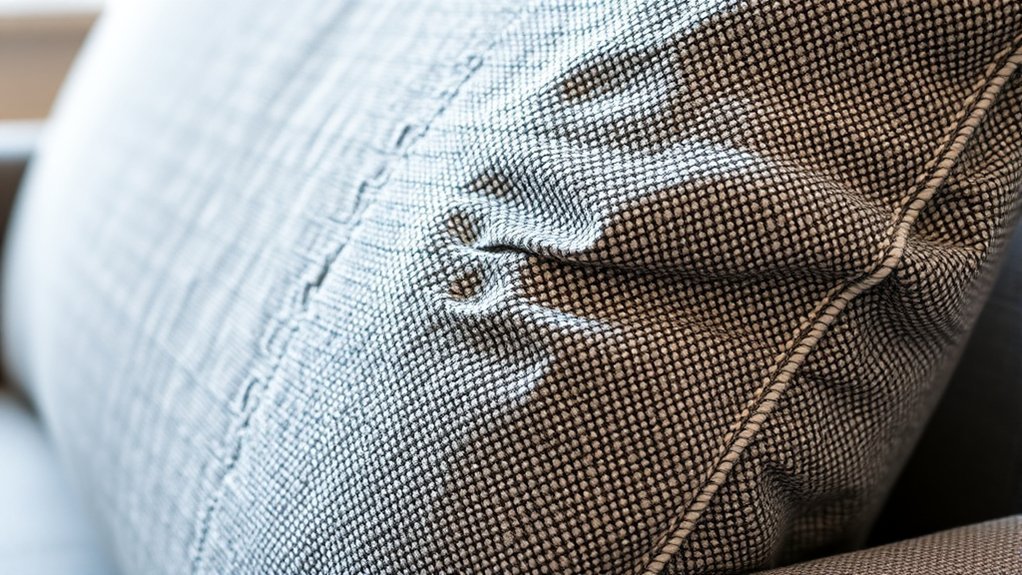
A discreet upholstery repair starts with the right method for the type of damage. A split seam can often be sewn closed without a patch. A hole or irregular tear in the middle of a fabric panel usually needs support underneath so the weakened edges are not carrying the full load by themselves.
Before cutting or sewing anything, take pressure off the damaged area and inspect it closely. Look for missing fabric, fraying, displaced padding, weak surrounding material, or damage that continues into a seam, cushion structure, spring, or frame.
Warning: Do not use an iron, steamer, fusible web, or heat-activated adhesive until you know the upholstery can tolerate the required temperature. Test adhesives and heat treatments in a hidden area first, follow the product label, and avoid DIY repair when the furniture structure or a high-load seam has failed.
Identify the Type of Upholstery Damage
The best repair depends on what actually failed. Treating every hole the same can make an otherwise small defect more visible.
| Damage | Best Starting Method |
| Split along an existing seam | Realign the original seam edges and close them with a hidden or ladder stitch if the surrounding fabric is still strong. |
| Clean tear with edges that meet | Use small hidden stitches, with backing support if the fabric is weak or the tear is under regular tension. |
| Open hole or missing material | Place a compatible backing or matching patch beneath the opening, then secure the sound edges to it. |
| Large, brittle, badly stretched, or structural damage | Consider professional panel replacement or reupholstery instead of a small surface patch. |
Stabilize the Tear Before You Patch It
Before applying a patch, stop the damaged area from stretching farther. Remove lint or debris with a gentle method suitable for the upholstery, and let the material dry completely before using adhesive.
Trim only loose threads that cannot be returned to the weave. Do not cut sound fibers simply to make the opening look neater. If padding has pushed through the hole, ease it back underneath so the surface lies approximately level, but do not pack extra stuffing into the repair.
If the damage is next to an existing seam, inspect the seam before touching it. Do not unpick sound stitching unless access through that seam is genuinely needed. Opening an intact seam can turn a localized repair into a larger upholstery job.
For fabric that needs hidden support, a sew-in backing is the safest option when heat tolerance is unknown. University of Tennessee Extension also identifies matching fabric patches, fusible materials, and interfacing as repair options for tears and holes. If a fusible product is considered, verify that the upholstery tolerates the required heat first.
Pro Tip: Before inserting the patch, photograph the upholstery in normal room lighting. Use the photo to compare the fabric’s grain, pattern, and nap direction while you position the patch. A patch that matches color but faces the wrong direction can still remain obvious.
Choose a Patch That Matches the Upholstery
The best visible patch matches the upholstery as closely as possible in color, texture, weight, weave, pattern, and nap direction. Do not automatically use velvet unless the original furniture is upholstered in velvet.
- Look for leftover upholstery fabric, fabric hidden beneath the furniture, or another suitable matching scrap that can be used without damaging the piece.
- Cut the patch large enough to extend beyond the weakened edges onto sound material.
- Round sharp patch corners where practical so they are less likely to catch or create a noticeable hard point underneath the upholstery.
- If the fabric has stripes, checks, motifs, grain, or a directional pile, align those details before securing the patch.
- Test any adhesive, fusible product, cleaner, or finishing treatment in an inconspicuous area first.
If the patch will remain completely hidden, an exact color match matters less than compatible thickness, flexibility, and strength. A backing that is too thick may create a visible ridge; one that is too weak may allow the tear to reopen.
For fusible interfacing, New Mexico State University Extension recommends considering the weight and care requirements of the face fabric and notes that fusing can stiffen material. That is especially important when the repair must remain soft and inconspicuous.
Place a Hidden Patch Under the Hole
For an open hole in the middle of a cushion, arm, or back panel, a hidden under-patch provides a foundation for the damaged edges.
- Cut the backing or matching patch so it extends beyond the damaged fibers onto sound upholstery.
- Fold or roll the patch enough to pass it through the existing opening without making the hole larger.
- Use blunt tweezers, a smooth tool, or your fingers to flatten the patch underneath the upholstery.
- Center it so sound fabric surrounds the entire damaged area.
- Align the torn face fabric over the patch without stretching it.
- Check the repair from normal viewing distance before stitching or gluing anything permanently.
If fabric is actually missing, do not pull the remaining edges together until they meet. Excess tension can distort the surrounding upholstery and cause a second tear. Let the matching patch replace the missing area instead.
Stitch the Patch for a Strong Repair
A curved upholstery needle can make hand sewing easier on fixed cushions and tight furniture surfaces because it allows the needle to return through the face without requiring access to the back of the fabric. Use strong thread in a color that disappears into the upholstery.
When two sound fabric edges can meet naturally, a ladder stitch or another hidden hand stitch can close the opening with very little thread showing. Take small bites of sound material on alternating sides and tighten the thread gradually.
Do not pull each stitch as tight as possible. Excess tension can pucker the upholstery, distort a pattern, or cause the thread to cut into already weakened fibers. The goal is to bring the edges into their original position, not cinch them together under strain.
When securing an under-patch, place stitches through sound upholstery and the supporting patch rather than repeatedly piercing frayed fibers. One controlled stitch line is often preferable to several visible rows. Add reinforcement only where the construction and stress level justify it.
Finish with a secure knot positioned where it will not rub against the visible surface. If possible, bury the thread end inside the repair.
Use Fabric Glue Without Making the Repair Stiff
Fabric adhesive can support some patches or provide a no-sew repair, but the adhesive must be suitable for the actual upholstery. Different products have different curing, washing, dry-cleaning, and heat requirements.
Apply only enough adhesive to create the bond recommended by the manufacturer. Too much glue can bleed through thin fabric, create a stiff ring around the repair, or leave a shiny edge.
For example, Aleene’s current Insta-Fuse Fabric Fusion instructions specifically tell users to test before use and require heat setting. Other fabric adhesives from the same manufacturer use different drying and curing procedures. Follow the label for the exact product in your hand rather than using a generic curing time.
Note: A product being marketed for “fabric” does not automatically mean it is appropriate for every upholstery fiber, finish, pile, foam backing, or cleaning system. Hidden-area testing is especially important on velvet, microfiber, delicate synthetics, antique textiles, and light-colored fabrics.
How to Fix Upholstery Without Sewing
A no-sew repair can work for some small holes and tears when the surrounding fabric is still sound. University of Tennessee Extension lists fusible interfacing, iron-on mending materials, fusible web, and matching fabric patches among possible no-sew repair techniques.
- Clean and completely dry the damaged area.
- Trim only loose, unstable fibers.
- Cut a compatible backing patch that extends beyond the damaged edges.
- Insert and flatten the patch underneath the hole.
- Apply a thin, controlled amount of flexible fabric adhesive according to its label, or use a fusible system only if the upholstery safely tolerates the required heat.
- Align the face fabric without stretching it and hold it in position as directed by the adhesive manufacturer.
- Leave the repair unused until the specified curing period is complete.
Clear tape can function as a temporary emergency hold, but it is generally a poor choice for a permanent visible furniture repair because adhesive residue, stiffness, and aging can make later repair more difficult.
Finish and Blend the Upholstery Repair
Once the patch or stitches are secure, inspect the repair in the same lighting and from the same distance at which the furniture is normally viewed.
- Trim loose thread ends without cutting the repair stitches.
- Check that the repair lies level instead of forming a raised ridge or sunken area.
- Use a clean, soft brush to restore the direction of a compatible pile or nap.
- For patterned upholstery, adjust loose surface fibers so lines and motifs remain aligned.
- If adhesive was used, leave the area free of pressure, pets, vacuuming, or repeated rubbing until the manufacturer’s full curing period has passed.
Do not automatically steam, iron, spray fabric protector, or apply stain treatment to the repaired area. Use those treatments only when the upholstery manufacturer and the product instructions say they are appropriate.
The least visible repair usually comes from preserving sound fibers, keeping the patch flat, matching the fabric direction, and using only enough stitching or adhesive to secure the damage.
Troubleshoot a Visible or Failing Upholstery Patch
Why Does the Repair Look Puckered?
The stitches may be too tight, the torn edges may have been stretched out of position, or the backing may be bunched underneath. If the repair is still adjustable, reduce tension and flatten the backing rather than pulling harder on the thread.
Why Does the Patched Area Feel Hard?
Too much adhesive or a backing material that is much stiffer than the original upholstery can create a hard spot. Avoid adding more glue to an already stiff repair. If the patch is uncomfortable or highly visible, professional correction may produce a better result.
Why Can I Still See the Patch?
Check color, weave, pattern alignment, surface height, and nap direction separately. A perfect color match can still stand out if the pile runs in the opposite direction or the patch creates a ridge.
Why Did the Tear Open Again?
A repair can reopen when the patch does not reach sound fabric, the upholstery remains under excessive tension, the furniture was used before an adhesive cured, or the surrounding material is too weak to hold stitches. Repeated failure is a sign that a larger patch, panel replacement, or professional upholstery work may be needed.
When to Use a Professional Upholsterer
A DIY patch is best for localized cosmetic damage where the surrounding upholstery is still strong. Professional repair is a better choice when:
- The fabric is brittle, badly faded, dry-rotted, or tearing in multiple places.
- A large section of upholstery is missing.
- The tear crosses piping, complex seams, tufting, decorative trim, or a high-load attachment point.
- The seat foam, webbing, springs, frame, reclining mechanism, or other structural parts are damaged.
- The repair has already failed more than once.
- The furniture is valuable, antique, or made from a material that is difficult to match.
Official U.S. furniture-repair guidance also distinguishes localized repair from upholstery that is torn or worn beyond repair, where recovering the affected furniture may be necessary.
Frequently Asked Questions
How Can I Fix a Hole in My Couch Upholstery?
First identify whether it is a seam split, tear, or true hole. For an open hole, clean the area, trim only loose fibers, return displaced padding underneath, and slide a compatible patch beneath the opening. Align the upholstery, then secure it with hidden stitching or an appropriate fabric adhesive. Do not open an intact seam unless access through it is actually required.
How to Fix a Hole in Fabric Without Sewing?
Place a compatible backing patch beneath the hole and secure it with a flexible fabric adhesive that is approved for the upholstery. Fusible web or interfacing may also work on fabrics that tolerate the required heat. Test first, use the minimum adhesive needed, and follow the product’s exact setting and curing instructions.
How to Patch Couch Upholstery?
Cut a patch that extends beyond the damaged fibers onto sound material, place it flat beneath the opening, and align any visible weave, pattern, or nap. Secure the original fabric to the patch with small hidden stitches or a compatible adhesive. Avoid pulling the torn edges together under excessive tension.
How to Fix a Hole in a Couch From a Dog?
Remove loose fibers without enlarging the hole, return exposed stuffing beneath the surface, and inspect how far the damage extends. Use a hidden backing patch for an open hole and sew or bond it to sound upholstery. If scratching has weakened a large area or damaged foam and seams, professional panel repair may last longer than a small patch.
Can I Repair a Couch Tear Without Removing the Upholstery?
Yes. Many localized tears can be repaired from the face of the furniture with a curved needle or by sliding a backing patch through the existing opening. Removing the upholstery is more appropriate when the damage cannot be reached safely, a large panel needs replacement, or internal padding and structural components also require work.
When Is a Fabric Upholstery Hole Too Large for DIY Repair?
Size alone is not the only issue. Seek professional help when the surrounding material is weak, the upholstery is missing over a broad area, the tear is under heavy structural tension, or the damage reaches piping, springs, webbing, foam, a frame, or a furniture mechanism. A patch needs sound material around it to hold reliably.
Conclusion
A small hole in otherwise sound fabric upholstery can often be repaired without replacing the furniture. The key is to preserve the surrounding fibers, support an open hole from underneath, match the patch direction carefully, and avoid excessive thread tension or adhesive. If the upholstery is brittle, badly stretched, structurally damaged, or repeatedly tearing, professional repair or panel replacement is usually the more durable solution.
Sources
- University of Tennessee Extension — Tears, Cuts, and Holes — supports prompt fabric repair and patch, fusible interfacing, and no-sew repair methods.
- New Mexico State University Extension — Selecting Interfacings, Underlinings, and Linings — supports choosing interfacing based on fabric weight, care requirements, and the effects of fusing.
- Aleene’s — Insta-Fuse Fabric Fusion Instructions — supports testing fabric adhesive before use and following product-specific heat-setting instructions.