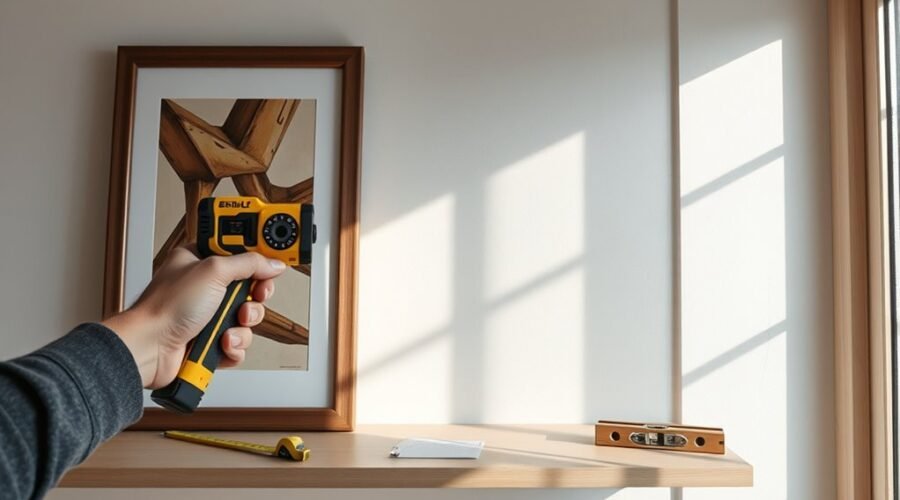
A strong magnet is a simple way to narrow down the location of a wall stud before hanging heavy art. The magnet does not detect wood itself; it catches the steel nails or screws that fasten drywall to framing. The safest approach is to find several matching fastener locations, confirm the framing pattern, locate the stud center, and check for hidden utilities before drilling.
Quick Answer
A strong magnet can help you find a wood stud by locating the steel drywall screws or nails driven into it. Scan slowly across the wall, mark repeated magnetic hits that line up vertically, then confirm the stud’s center with spacing, a second method, or both before drilling. Do not assume every magnetic hit is a stud.
Key Takeaways
- Use a strong round magnet to locate metal drywall fasteners that can reveal a likely stud line.
- Scan in a clear area near the planned mounting height; four feet above the floor is convenient but not a required height.
- Look for two or more fasteners that line up vertically instead of trusting one magnetic hit.
- Check both 16-inch and 24-inch on-center spacing when predicting the next stud.
- A fastener does not automatically mark the exact stud center; verify the center before drilling.
- Treat outlets, switches, trim, and door casings as supporting clues rather than proof.
- Before penetrating the wall, consider hidden electrical wiring, plumbing, gas lines, and other concealed obstacles.
At a Glance
| Time Required | About 10–20 minutes for a typical open wall area |
| Difficulty | Beginner |
| Tools Needed | Strong round magnet, pencil or painter’s tape, tape measure, level; optional electronic stud finder or wall scanner |
| Cost | Minimal if you already own basic tools; optional scanners and weight-rated mounting hardware add cost |
What Tools Do You Need to Find a Wall Stud?
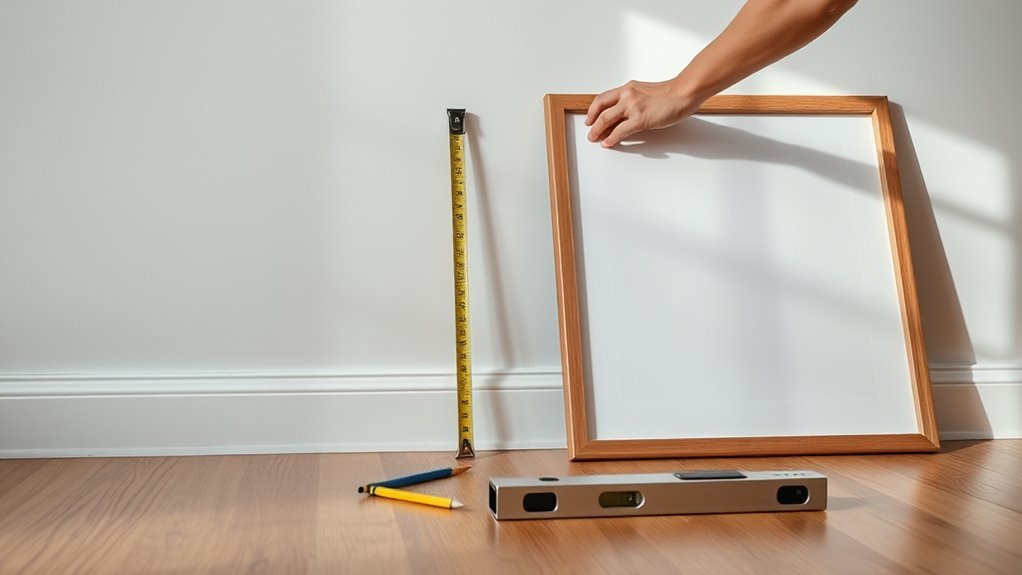
You only need a few simple tools to search for a wall stud behind drywall. The most useful for this method is a strong round magnet, preferably a compact disc or button magnet that is easy to move slowly across the wall.
The magnet does not detect wood. It is attracted to metal nails or screws used to fasten drywall to framing. USG’s drywall installation guidance confirms that gypsum panels are repeatedly fastened to framing, which is why finding an aligned pattern of fasteners can reveal the framing line.
You can tie the magnet to a short string if that makes it easier to sweep smoothly across the surface. Keep a pencil or painter’s tape nearby so you can mark each magnetic hit without losing it.
A tape measure and small level are also useful. An electronic stud finder or wall scanner is optional but valuable when the magnetic pattern is unclear or when you want another way to confirm the stud before drilling.
Pro Tip: One magnetic hit is only a clue. Find another hit above or below it. Two or more fasteners forming a vertical line are much stronger evidence that you have found framing behind the drywall.
Start at a Clear Scan Area—Four Feet Is Optional
Starting about four feet above the floor can be convenient because that part of the wall is often easy to reach and may be clear of baseboards and low furniture. However, four feet is not a special stud-finding height, and it is not required for an accurate magnetic scan.
Choose an open area close to where the artwork will actually hang. Keeping your search near the planned fastener location reduces the chance that you will map a stud correctly in one part of the wall but encounter blocking, an opening, or other framing changes elsewhere.
| Checkpoint | Purpose |
|---|---|
| Clear scan area | Lets the magnet stay flat against the wall |
| Near mounting height | Confirms framing where the hanger will actually go |
| Multiple heights | Helps confirm a vertical fastener pattern |
| Pencil or tape marks | Preserves each confirmed reference point |
If furniture or trim blocks the intended area, make your first pass where the wall is exposed, then repeat the scan closer to the final mounting position before drilling.
Slide a Magnet Until It Sticks
Place the magnet flat against the drywall and move it horizontally in a slow back-and-forth pattern. Moving too quickly makes a weak attraction easy to miss.
When you feel the magnet pull strongly toward one point, stop and mark the location. The attraction usually means you have found metal beneath the wall surface. In standard drywall construction, that metal may be a nail or screw securing the panel to framing.
Scan a few inches to either side, then repeat the pass slightly higher or lower. You are looking for a repeatable vertical pattern, not simply the strongest isolated magnetic response.
If the magnet grabs across a broad area, sticks continuously, or produces many irregular hits, the wall may contain metal framing, metal lath, brackets, piping, protective plates, or another material that makes the simple magnet method less useful.
Mark the First Confirmed Fastener Location
When the magnet repeatedly returns to the same point, mark that spot with a small pencil dot or piece of painter’s tape. Keep the mark precise rather than drawing a large circle around the whole sweep area.
Mark the exact magnetic contact point, but treat it as a fastener location—not automatically as the exact center or edge of the stud.
Next, scan directly above and below your mark. If you find other fasteners on the same vertical line, the pattern strongly suggests that the drywall was attached to framing there.
Keep these marks small and visible so you can compare them with measurements, adjacent studs, trim, or an electronic finder before drilling.
Find the Stud Center Before You Drill
A common mistake is to assume that a drywall screw head marks the exact center of a stud. It does not. The installer only needs the fastener to penetrate the framing securely, so the screw can sit to one side of the stud’s centerline.
A typical dressed 2×4 is about 1.5 inches wide across the wall face, according to NIST’s lumber-dimension guidance. If you establish a true stud edge, the approximate center of a conventional 1.5-inch-wide stud is about 0.75 inch inward from that edge.
Do not apply that 0.75-inch offset to an outlet-box edge, trim edge, or magnetic point unless you have first established that it really corresponds to the stud edge.
For better confidence, use at least two clues: a vertical line of magnetic fasteners plus expected stud spacing, or the magnet plus an electronic finder that identifies the framing edges.
Measure 16 Inches—Then Check 24 Inches If Needed
Once you have a likely stud line, measure 16 inches on center to the right or left and scan that area with the magnet. Sixteen-inch framing is common, but it is not universal.
The American Wood Council notes that 16-inch stud spacing is common while 24-inch spacing is also used in qualifying wall construction. That means a missing hit at 16 inches does not automatically mean your first stud location was wrong.
Note: Stud spacing is measured from the center of one framing member to the center of the next. Check 16 inches first, then 24 inches if the expected stud does not appear. Openings, corners, blocking, repairs, and nonstandard framing can also interrupt the pattern.
Keep the tape measure level so the predicted point does not drift vertically. Mark the estimated location and verify it with the magnet rather than drilling solely from the measurement.
Look for More Fastener Heads
After finding one likely framing line, search for more magnetic hits both vertically and horizontally. Drywall is attached to framing at repeated points, so several aligned fasteners provide better evidence than one isolated screw or nail.
Move the magnet slowly above and below the first mark. A straight vertical series of hits is useful because wall studs normally run vertically from the bottom plate toward the top of the wall.
Then check the expected adjacent-stud location at 16 or 24 inches on center. If a similar vertical fastener pattern appears there, your wall layout is becoming much easier to verify.
If the second location does not match the expected pattern, recheck your first mark instead of forcing the measurement to fit.
Confirm the Stud With a Second Pass
Run the magnet across the same area again from both directions. A second pass confirms that the magnetic response is repeatable, but it does not prove by itself that the hidden metal is a wood stud fastener.
Repeatable magnetic attraction is one clue. A vertical fastener pattern plus expected framing spacing is much stronger evidence.
You can also repeat the sweep at a different height. The stud itself should continue vertically, although individual drywall fasteners can be slightly offset across the face of the framing.
If the pattern remains uncertain, use another method before drilling. An electronic stud finder, careful inspection of nearby construction details, or a wall scanner can provide an independent check.
Use Outlets and Trim as Clues
Electrical outlets and switches can help narrow the search because many new-work electrical boxes are mounted beside a stud. However, an outlet does not prove that a stud is immediately beside the box.
Remodel or old-work boxes can be mounted directly to drywall without a stud. For example, Hubbell RACO documents old-work boxes that mount to drywall without stud support. For that reason, check both sides of an outlet box with your magnet instead of assuming which side contains framing.
Baseboards and other trim provide another clue because they are often nailed into framing. Look for small filled nail holes or a magnetic response along the trim, then check the same vertical line higher on the wall.
Door and window casings can also help you understand the framing layout, but openings often contain multiple framing members and headers. Use them to narrow your search rather than to calculate a universal offset.
Do not use the old rule of shifting 1.5 inches from a trim or outlet edge to declare the stud center. First establish the actual framing edge, then calculate the center if needed.
What if 16- or 24-Inch Stud Spacing Does Not Match?
If your magnetic hits do not repeat at the expected spacing, do not keep drilling test holes. Several normal conditions can change the pattern:
- Studs can be doubled or tripled around doors, windows, and structural openings.
- Short blocking can run horizontally between studs.
- Renovations may introduce nonstandard framing.
- Older construction may not match modern layout expectations.
- Metal brackets, nail plates, pipes, ducts, or other hardware can attract the magnet.
- An isolated drywall repair may contain fasteners that do not match the original wall framing.
Move farther along the wall and look for a repeatable pattern. If the area remains confusing, an electronic scanner or another confirmation method is a better choice than relying on spacing alone.
Wall Types That Can Change the Method
The magnet method works best on conventional drywall attached to wood framing with steel screws or nails. Other wall systems can behave differently.
Plaster and lath: Metal lath can make a magnet respond across a large area, while thick or irregular plaster can make other stud-finding techniques less predictable.
Metal studs: A magnet may respond to the framing itself instead of isolated drywall screws. You still need suitable fasteners and a mounting method designed for the metal framing system and load.
Tile over a wall: Extra layers can reduce the usefulness of some detectors and make it harder to interpret a magnetic response. Avoid drilling until you understand what is behind the finished surface.
Zircon’s stud-finding guidance also cautions that scanning performance varies with wall materials and that users should not rely on one detection method alone before penetrating a wall.
Prepare the Wall for Heavy Art
Once the likely framing lines are marked, compare them with the artwork’s hanging hardware. Measure the distance between D-rings, brackets, wire, or mounting holes so you know whether one or more attachment points can land on studs.
If possible, position heavy art so the primary structural fasteners enter framing. If the required hanger location falls between studs, choose a hollow-wall mounting product specifically rated for your wall material and the actual weight of the artwork.
Use a level to transfer your marks and keep the hanging points aligned. Recheck the magnetic pattern at the exact drilling height rather than assuming the stud remains where a lower test mark suggested.
Warning: A magnet or stud finder cannot guarantee that the drilling path is free of live electrical wiring, water lines, gas lines, pipes, or other concealed objects. Do not assume that a clear scan means the cavity is safe. Use appropriate detection methods, avoid questionable areas, and follow applicable electrical and utility safety precautions before penetrating the wall.
Hang the Artwork Securely
Lift the artwork into position only after you have confirmed both the hanger locations and the wall structure behind them. Where the design allows, drive appropriately sized mounting fasteners into the verified center region of the stud rather than relying on drywall alone.
| Checkpoint | Action |
|---|---|
| Stud line | Confirm with multiple clues before drilling |
| Stud center | Do not treat a magnetic screw hit as the exact center |
| Spacing | Check both 16- and 24-inch-on-center patterns |
| Hardware | Match the fastener or anchor to the wall and object weight |
| Load path | Use framing when practical for heavy pieces |
| Final check | Level the artwork and test for movement before releasing it |
If you cannot use a stud, follow the instructions and published weight rating for the specific hollow-wall hanger or anchor you choose. Do not assume that combining different systems increases capacity.
For example, 3M states that using two CLAW drywall hangers does not automatically double the product’s weight rating. Follow the mounting-hardware manufacturer’s instructions rather than adding individual ratings together.
For unusually heavy, wide, or valuable artwork, a French cleat or mounting rail secured across multiple verified studs can spread the attachment points across more framing, provided the frame and cleat are designed for that mounting method.
Frequently Asked Questions
What Do You Do if You Can’t Find a Stud in Your Wall?
Recheck both 16- and 24-inch-on-center positions, scan at another height, and look for several magnetic fastener hits that line up vertically. You can also use an electronic stud finder or wall scanner. If no usable stud aligns with the artwork, use a wall anchor or hanger that is specifically designed for your wall type and rated for the object’s full weight.
What Are Alternative Ways to Locate Studs?
You can use an electronic stud finder, a wall scanner, a magnetic stud finder, surface clues from trim fasteners, or careful measurements from a confirmed stud. A knock or tap test may help narrow the area, but it is less precise and should not be the only evidence used before drilling for heavy art.
How Do You Hang a Heavy Picture When There Is No Stud?
Use a hollow-wall anchor, toggle-style fastener, or other mounting system specifically approved for your wall material and rated for at least the full weight of the picture. Follow its installation instructions exactly. For wide or especially heavy pieces, a suitable rail or French-cleat system may allow attachment to studs at locations that do not line up directly with the frame’s original hanging hardware.
What Is a Good Trick for Finding Studs?
Slide a strong round magnet slowly across drywall and mark where it catches a hidden screw or nail. Then scan above and below that point. A vertical row of magnetic hits is much more useful than one isolated hit. Once you have a likely stud line, check for another one 16 or 24 inches on center.
Are Wall Studs Always 16 Inches Apart?
No. Sixteen inches on center is common, but 24-inch-on-center framing is also used. Openings, corners, doubled framing, blocking, renovations, and older construction can interrupt either pattern. Use spacing to predict where a stud may be, then verify the location before drilling.
Does a Magnet Show the Exact Center of a Wall Stud?
No. The magnet normally finds a metal drywall fastener, and that fastener can sit anywhere within the usable face of the framing. Use several vertically aligned fasteners to establish the stud line, then identify the stud edges or use a second detection method before choosing the final drilling point.
Conclusion
A magnet gives you a practical, inexpensive way to narrow down a wall stud, but the key is knowing what the magnetic response actually means. Find more than one drywall fastener, look for a vertical pattern, check both 16- and 24-inch stud spacing, and establish the stud center instead of drilling directly at the first magnetic hit.
Before making a hole, consider concealed wiring, pipes, and other utilities, then use mounting hardware designed for your wall type and the full weight of the artwork. Those extra checks take only a few minutes and give heavy art a far more dependable connection to the wall.
Sources
- American Wood Council — Lumber Studs — framing practices and common 16- and 24-inch stud spacing.
- USG — Gypsum Panel Fastener Spacing — how drywall is fastened to wall framing.
- National Institute of Standards and Technology — Lumber Dimensions — actual finished dimensions of nominal 2×4 lumber.
- Zircon — Stud-Finding and Electrical Safety FAQ — scanner limitations and precautions before penetrating walls.
- Hubbell RACO — Old-Work Box — example of an electrical box designed to mount to drywall without a stud.
- 3M CLAW Heavyweight Hanging Solution — manufacturer weight-rating and multiple-hanger guidance.