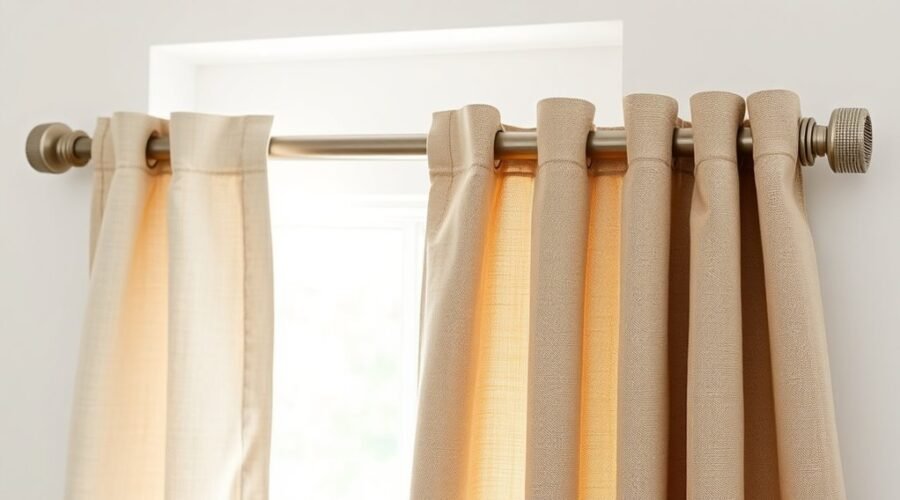
Ever wonder how a simple layer of fabric can turn bright mornings into deep sleep? You can add a blackout curtain liner to your existing curtains to block light, soften noise, and improve insulation without a full replacement. Most options attach with Velcro, hooks, rings, or ready-made tabs, so you can get a tailored fit with little effort. The right method depends on your curtain style—and that’s where the details start to matter.
Key Takeaways
- A blackout curtain liner is an added layer that blocks light, reduces noise, improves insulation, and protects curtains from sun damage.
- It also increases privacy and can help create a darker, more restful sleeping environment.
- Blackout liners can be attached without sewing using Velcro strips, rings, or hooks.
- To install one, measure the window, remove the curtains, attach the liner, then rehang and smooth it.
- Check fit and security regularly, and adjust or reposition the liner if it shifts or hangs unevenly.
Can You Attach a Blackout Curtain Liner Without Sewing?
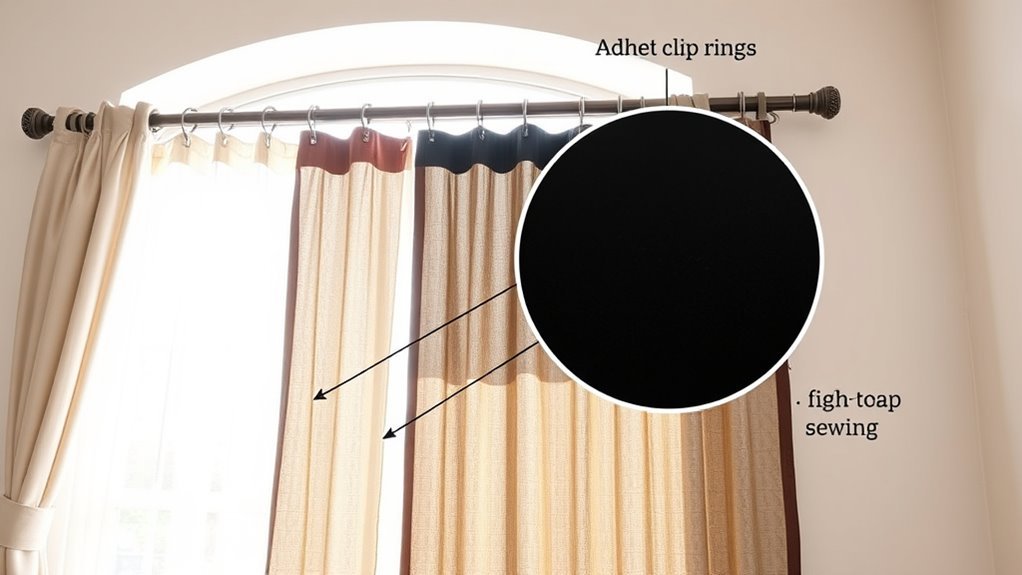
Yes, you can attach a blackout curtain liner without sewing, and the easiest routes are Velcro strips or ready-made liners with rings and hooks.
You keep your hands free from needles and your room free from harsh light, so the fix feels clean and empowering. With Velcro, you fasten the blackout liner to your curtain in minutes, creating a secure, non-permanent hold.
If you choose a ready-made lining, you simply remove the curtains, clip on the included hooks, and rehang them. That streamlined swap can deliver 100% darkness, which helps you rest deeper and wake sharper.
Best of all, many liners are designed to blend with your existing drapes, so your décor stays polished while your space becomes more private, restful, and fully yours.
What You Need to Install a Blackout Liner
To install a blackout liner, you’ll want the right basics on hand: ready-made linings with rings and hooks, a small step ladder, and an iron to smooth out any creases.
Clear a flat surface first so you can lay everything out neatly and follow the fitting instructions with ease.
With the liner hardware and accessories ready, you can hang the curtains cleanly and get a polished finish fast.
Needed Tools And Materials
Before you start installing a blackout curtain liner, gather a few simple tools and set up a tidy workspace so the job goes smoothly. You’ll want a small step ladder for safe, comfortable hanging, plus an iron to smooth wrinkles before the blackout lining goes up.
Lay the curtains on a clean, flat surface so you can attach the ready-made blackout curtain linings, rings, and hooks with control and ease. Keeping everything organized on a clear workspace helps you move faster and avoid frustration.
With the right materials close at hand, you can work with confidence, create a polished finish, and claim more control over light, privacy, and comfort in your space.
Preparing The Curtain Area
With your tools and blackout liner ready, shift your attention to the curtain area itself so installation starts off smoothly. Clear a clean workspace and lay out a flat surface where you can handle your existing curtains without fuss.
Set a small step ladder nearby for easy reach, then warm up the iron to smooth out stubborn creases. Before you begin preparing the curtain area, read the fitting instructions that come with the blackout linings so you know exactly how each piece connects.
Remove the curtains from the rod and place them face down, giving yourself room to work with precision and freedom. Keep the ready-made linings with rings and hooks close at hand, organized and untangled, so your setup stays calm, efficient, and ready for a clean, confident installation.
Liner Hardware And Accessories
For a smooth blackout liner install, gather the small essentials first: hooks and rings, which are often included with the liner, so you can attach it securely to your existing curtains.
Check your liner hardware against your curtain rod or pole before you start, because a snug fit keeps everything steady and polished.
Set out a clean, flat surface so you can align the fabric without wrestling with folds. If the liner arrives creased, press it with an iron for a sleek finish.
A small step ladder helps you reach the top rail comfortably, giving you control instead of strain.
With the right pieces in place, you’re not just hanging a liner—you’re claiming privacy, darkness, and calm on your own terms.
How to Attach a Blackout Curtain Liner
Attaching a blackout curtain liner is usually a quick, no-sew job, especially since most liners come with clear instructions and simple fixings like Velcro strips or hooks.
You can upgrade blackout curtains with minimal fuss and maximum control. Remove your curtains, then lay them face down on a clean surface. If your liner uses hooks, slide them into the header tape; if it uses Velcro, align the strips and press firmly.
Make sure the liner matches your curtain style, whether eyelet or tape heading, so everything sits neatly and works freely. If your rod is high, grab a small step ladder for safe reach.
Then rehang the curtains and smooth the liner for a crisp finish.
- Check the instructions first
- Match liner to curtain heading
- Lay curtains face down
- Attach hooks or Velcro
- Rehang and adjust neatly
How to Hang a Blackout Liner on Different Curtains
You’ll hang a blackout liner differently depending on your curtain type: eyelet panels can run on the pole, while tape heading curtains need hooks slipped into the header tape.
If your liner includes bonus hooks, rings, or Velcro strips, you can attach it neatly behind the drapes without sewing and make quick adjustments as needed.
For the cleanest finish, match the liner’s finished width to the top of your curtains so it sits smoothly whether they’re open or closed.
Curtain Types
Whether you’re working with eyelet curtains or tape heading curtains, a blackout liner is designed to fit neatly and make installation straightforward. You can turn everyday curtains into blackout curtains with rings, hooks, or Velcro, keeping the process flexible and refined.
- Eyelet curtains: thread the liner onto the pole behind the drapes.
- Tape heading curtains: insert hooks into the header tape first.
- Provided rings and hooks: use them for a secure, tidy fit.
- Velcro strips: choose this no-sew route if you want speed.
- Remove and reattach: adjust light and seasons on your terms.
This lets you shape privacy, mood, and comfort without surrendering style. The result feels clean, mobile, and beautifully under your control, whether you’re revitalizing a bedroom, lounge, or studio.
Hanging Methods
Hanging a blackout liner is invigoratingly simple, and the method you choose depends on your curtain style.
For the fastest fit, use Velcro strips on the back of your existing drapes; you’ll get a clean, removable bond that keeps your room’s Blackout power intact.
If you have eyelet or tape heading curtains, attach the liner with the rings and hooks in the pack for a secure, tailored hang.
With rod pocket curtains, slide the liner’s built-in 2-inch pocket onto the rod and let it fall freely.
You’ll also find detailed instructions in the package, so the process stays easy at any skill level.
Once installed, the liner blocks 100% of outside light, boosting privacy and sleep quality.
Best Blackout Liner Options for Curtain Types
When you want to upgrade the light-blocking power of your curtains without replacing them, blackout liners are a smart, flexible fix. With blackout curtain liners, you keep your style and gain control over light, heat, and privacy.
Choose the liner that fits your curtain type and your freedom-first routine.
- Eyelet curtains pair well with Velcro or sew-in liners.
- Tape-heading curtains often suit hooks or stitched panels.
- KGORGE panels offer two W27 x L60 pieces and block 75%-85% of light.
- Moondream lining preserves your curtain’s look while blocking 100% of outside light.
- Energy-saving liners can also shield furniture from UV rays.
If you sleep by day, work nights, or want a cooler room, pick a liner that matches your curtains’ construction and your lifestyle.
You’ll get a cleaner silhouette, stronger darkness, and fewer reasons to compromise.
How to Fix Blackout Liner Fit Problems
Even the best blackout liner can look off if the fit isn’t right, but a few simple adjustments can make it hang cleanly and work better. Start by matching the liner’s width to your curtain width; a slight overlap gives you fuller blackout coverage and a sharper edge. If it runs long, trim the bottom carefully for a neat finish—cut slowly, because you can’t put fabric back. Use adjustable hooks or rings to raise or lower the liner until it hangs level with the panels.
| Problem | Fix |
|---|---|
| Too narrow | Add overlap |
| Too long | Trim lightly |
| Misaligned | Use Velcro strips |
Velcro gives you freedom to reposition without drama, especially when your curtains shift. Once everything’s set, check hooks and attachment points regularly so the liner stays secure and doesn’t slip out of place.
Frequently Asked Questions
How Do I Attach Blackout Curtain Linings?
You attach blackout curtain linings by using the supplied Installation Techniques: fix the Velcro strip to your curtain, then press the liner on, or slip hooks into the header tape for eyelet and tape headings.
You’ll only need a step ladder and maybe an iron to smooth creases.
Follow the fitting instructions, hang the lining neatly, and you’ll keep your room dark, cool, and beautifully private.
What Are the Disadvantages of Blackout Curtains?
Blackout curtains can have real drawbacks: they trap heat, darken rooms too much, and can feel heavy to use.
If you’ve wondered whether they truly improve comfort, the answer is yes for Light Control, but not always for ease or mood.
You may also face trickier installation and faster fading over time.
Do Blackout Curtains Need a Liner?
No, you don’t need a liner if your blackout curtains already give you strong Light Control. Thick, triple-woven fabric can block most light on its own.
But if you want total darkness, better insulation, and less UV fading, adding a liner helps. You can sew it in or fasten it with Velcro.
Choose the setup that frees your space, sharpens comfort, and matches your style.
What Is the Best Blackout Curtain Liner?
The best blackout curtain liner for you usually has thick, triple-weaved Liner Materials that block 75% to 85% of light while staying eco-friendly and free from harsh chemicals.
You’ll want one that protects your furnishings from UV damage, fits your drapes easily, and comes with bonus hooks or a rod pocket for flexible hanging.
Choose darker colors for stronger blackout power, easy care, and a calmer, more liberated space.
Conclusion
In the end, you can give your curtains a quieter, darker, more energy-smart upgrade without a sewing marathon. Whether you use Velcro, hooks, or a ready-made liner, you’re simply helping your windows do a little more heavy lifting. If the fit feels a bit shy or a touch generous, a few quick adjustments usually sort it out. With the right liner, you’ll enjoy better privacy, softer light, and a more polished finish.