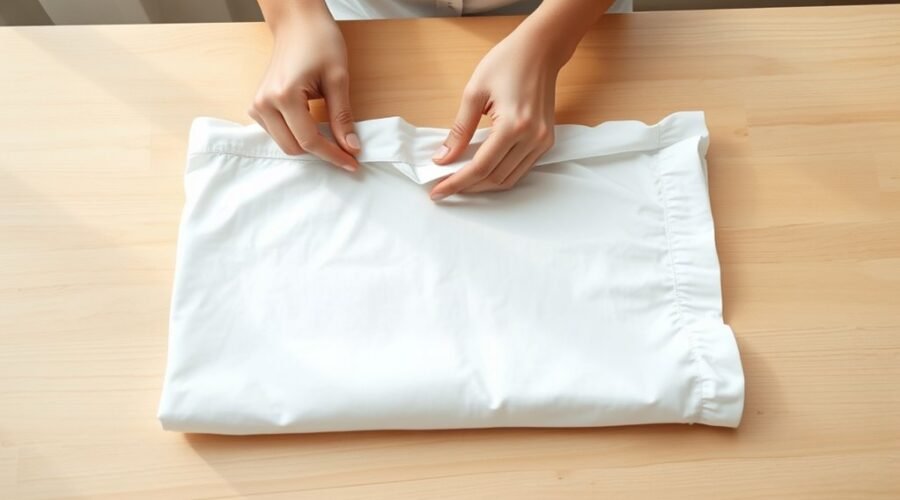
Folding a fitted sheet gets much easier once you stop trying to flatten the elastic corners separately. The reliable method is to nest the corners together first, straighten the elastic edge, and then turn the sheet into a simple rectangle that can be folded to fit your shelf or drawer. A bed or large table gives you the easiest working surface, especially for queen, king, and deep-pocket sheets.
Quick Answer
Turn the fitted sheet inside out, hold two adjacent corners, and fold one corner over the other. Bring in the third and fourth corners so all four nest together. Lay the sheet flat, tuck the elastic edges inward, smooth it into a rectangle, then fold that rectangle to fit your shelf or drawer.
Key Takeaways
- Start with the fitted sheet inside out and hold two adjacent corners from the same short edge.
- Nest all four elasticized corners together before trying to make the sheet flat.
- Lay the sheet on a bed or table, hide the curved elastic edges inside the fold, and form a rectangle.
- Fold the rectangle into thirds or another size that matches your storage space; it does not have to become a perfect square.
- Store the sheet completely dry in a cool, dry place away from direct sunlight.
At a Glance
| Time Required | A few minutes; allow extra time while learning |
| Difficulty | Easy once the corner-nesting step is familiar |
| Tools Needed | Clean bed or table; no special folding tool required |
| Cost | $0 |
Why a Neat Fitted Sheet Fold Matters
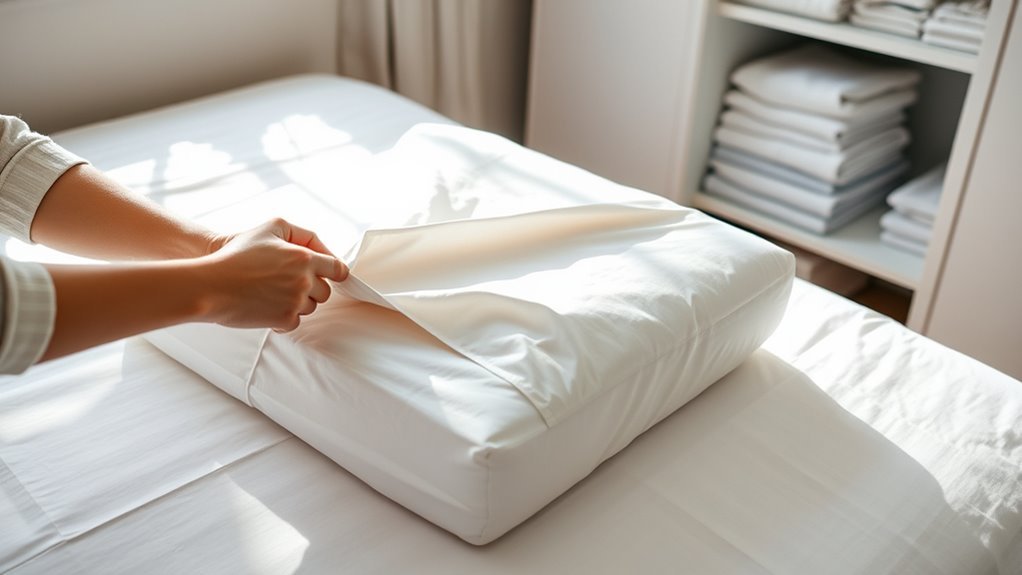
A neat fitted-sheet fold reduces bulk, makes sheet sets easier to stack, and helps prevent the elastic edge from turning into a tangled bundle in your linen closet. A smooth fold can also reduce obvious storage wrinkles, although folding by itself should not be treated as a proven way to extend a sheet’s lifespan.
Long-term fabric care depends more on how the sheet is washed, dried, handled, and stored. Clean, dry textiles are best kept away from strong light and excess moisture. The Smithsonian’s textile-storage guidance emphasizes clean, cool, dry, dark storage for textiles, while everyday bedding can be kept neatly folded in a ventilated drawer, shelf, or linen cupboard.
A compact fold also makes it easier to organize sheets by bed size or set. If you already fold flat sheets neatly, the final part will feel familiar. The only unusual step is managing the elasticized corners before you form the rectangle.
Set Up a Clear Folding Space
Start with enough room to spread out most of the sheet. A clean bed is usually easiest because it gives you a large surface without requiring you to work on the floor. A dining table also works well.
Clear the Surface
Remove clothing, pillows, laundry baskets, and other items that can catch the elastic edge. Smooth the work surface so bumps underneath the sheet do not make the corners harder to align.
If the sheet has just come from the dryer, make sure it is fully dry before folding it for storage. Folding a damp sheet into a tight bundle can trap moisture.
Stand With Room
Stand where you can extend your arms without hitting furniture. For the first corner-nesting steps, holding the sheet in front of you is often easier than trying to arrange all four corners on the bed at once.
For a king-size or deep-pocket sheet, you can switch to the bed or table as soon as two corners are joined. That reduces the amount of fabric you need to control in the air.
Keep Edges Uncluttered
Keep the edges of your work surface clear so the elastic does not snag. Good lighting also helps you see which side of each corner is inside out.
- Use a clean, uncluttered bed or table.
- Make sure the sheet is completely dry.
- Give yourself enough room to spread the fabric.
- Turn the fitted sheet inside out before starting the corner sequence.
You normally do not need clips, weights, or a folding board. If very slippery fabric keeps moving, pause and work on the sheet flat rather than trying to hold the entire bundle in the air.
Start With the Fitted Sheet Inside Out
Turn the fitted sheet inside out. Stand holding two adjacent corners along one short edge, placing one hand inside each corner. The elastic and corner seams should face outward.
This starting position matches the established corner-nesting technique described in Martha Stewart’s fitted-sheet folding guide.
Turn It Inside Out
With one corner in each hand, bring your hands together. Fold the corner in your right hand over the corner in your left hand so one corner envelops the other. You should now be holding two corners together in one hand.
Do not worry about the rest of the sheet hanging loosely yet. The goal at this stage is simply to pair the corners correctly.
- Turn the sheet inside out.
- Hold two adjacent corners from the same short edge.
- Fold one corner over the other.
- Keep the paired corners together while you locate the third corner.
Align Corners First
Find the third corner hanging below the pair in your hand. Bring it up and fold it over the two joined corners. Then locate the fourth corner and bring it over the group as well.
When all four corners are nested, the elasticized section should be concentrated along one curved edge instead of pulling in four different directions.
If the corners keep separating, check the seams. The nested corners should sit inside one another instead of merely touching at their tips.
Tuck the Corners Into Each Other
The corner-tucking step is the part that turns a fitted sheet from an awkward elastic bundle into something you can fold like an ordinary rectangle.
- Keep the first two corners nested securely.
- Bring the third corner over the joined pair.
- Bring the fourth corner over the group.
- Adjust the seams so the corners sit as deeply inside one another as the fabric allows.
You do not need to pull the elastic tight. Use only enough tension to keep the corners aligned. Stretching aggressively can make slippery or jersey fabric harder to control.
Pro Tip: If you are folding a king-size or deep-pocket fitted sheet, rest the hanging fabric on the bed after nesting the first two corners. Finish joining the remaining corners on the flat surface instead of supporting the entire sheet with your arms.
Smooth the Fitted Sheet Flat
Once all four corners are nested, lay the sheet on your bed or table. Position the joined corners at one end and let the remaining fabric spread naturally.
Use both hands to smooth the sheet from the center outward. Do not try to stretch every wrinkle away. Your goal is to remove trapped bunches and make the edges easier to fold.
Crisp cotton and percale usually hold straight folds easily. Jersey and other stretchy knits may curl back toward the elastic, so use lighter pressure and accept a softer final shape.
If one side looks much bulkier than the other, lift the nested corner group and make sure one corner has not slipped out.
Lay It Flat and Square It Up
With the joined corners on the surface, arrange the sheet so the long sides are roughly parallel. The fitted edge will still be curved; that is normal.
- Place the nested corners at one end of the work surface.
- Straighten the long sides as much as the fabric allows.
- Fold the curved elasticized edge inward so it no longer sticks out.
- Smooth the center until the sheet resembles a rectangle.
The result does not need to be a perfect square. Martha Stewart’s method also finishes by converting the sheet into a rectangle and then folding that rectangle to the desired storage size.
If the rectangle shifts, simply open the last fold, smooth the fabric, and try again. Precision matters less than keeping the elastic contained inside the bundle.
Fold the Sides Toward the Center
Once the sheet is lying flat, use the straight sides to create a more regular shape. Bring one long side inward, then bring the opposite side inward so the elastic stays hidden inside the fold.
Align Side Edges
Match the side edges as evenly as practical. The fabric does not have to line up to the millimeter, especially on deep-pocket or highly elastic sheets.
- Straighten both long sides.
- Fold one side toward the middle.
- Fold the opposite side inward.
- Run your hands over the rectangle to remove trapped folds.
A flat bed, table, or folding board can help hold the shape, but no special tool is necessary.
Fold Toward Center
Continue folding the elasticized edges toward the center until none of the curved elastic protrudes beyond the rectangle. Then choose the final fold based on where you plan to store the sheet.
For a wide shelf, thirds often work well. For a narrow drawer, you may prefer to fold the rectangle in half and then fold it once more. The correct finish is the one that produces a flat bundle that fits your storage space.
Tuck the Top and Bottom In
Now use the shorter ends to set the final dimensions. Bring the top portion down and the bottom portion up so the edges stay inside the rectangle.
- Check that all four fitted corners are still nested.
- Keep the elastic edge tucked inside the rectangle.
- Fold one short end inward.
- Bring the opposite end over it or fold the rectangle again to reach the size you need.
There is no requirement for the finished sheet to be a mathematically perfect square. Fitted sheets vary in mattress size, pocket depth, fabric stretch, and elastic construction, so some finish as compact rectangles.
Tighten the Edges for a Crisp Finish
Before the final fold, run your hands over the fabric and push loose material toward the center. Straightening the edges at this point gives the bundle a cleaner appearance without requiring you to pull hard on the elastic.
If you see a bulge near one corner, open the top layer and check whether that corner came loose from the nested group. If the sheet looks evenly thick, complete the final fold.
For a shelf, thirds usually produce a stable stack. For a drawer, a shorter rectangle may fit better. Use the same final dimensions for all sheets of one size if you want stacks that line up neatly.
How to Fold Large or Deep-Pocket Fitted Sheets
King-size, California king, and deep-pocket sheets use the same corner-nesting method, but the extra fabric can make the first few steps awkward.
- Use a bed: Let most of the fabric rest on the mattress instead of holding its full weight.
- Work one corner at a time: Do not try to find all four corners before securing the first pair.
- Make a wider rectangle: Extra-deep pockets may need a broader first fold to hide the elastic.
- Use two people if helpful: One person can hold the nested corners while the other straightens a very large sheet.
- Be gentle with stretch fabric: Jersey or knit fitted sheets distort more easily when pulled tight.
Common Fitted-Sheet Folding Problems
The Corners Keep Coming Apart
Make sure each corner is folded over the existing corner group rather than simply stacked beside it. The seams should nest inside one another.
The Elastic Still Sticks Out
After laying the sheet flat, fold the curved elasticized edge inward before making the final rectangle. Trying to make the last folds while the elastic remains exposed usually creates a lumpy bundle.
The Fold Looks Puffy
Open the last fold, spread the sheet again, and smooth trapped fabric from the center toward the sides. A bulky fold usually means fabric became caught underneath another layer.
The Sheet Will Not Form a Perfect Square
That is not a problem. A compact rectangle is often easier to make and store. The goal is a flat, stable bundle, not a particular geometric shape.
Stretchy Fabric Keeps Moving
Lay the sheet down earlier in the process and use less tension. Jersey and knit sheets rarely produce edges as crisp as percale or other woven cotton fabrics.
Store Your Folded Fitted Sheet
Store a fitted sheet only after it is completely dry. Everyday bedding does well in a clean, dry drawer, linen cupboard, shelf, or breathable storage container.
- Pair the fitted sheet with its matching flat sheet and pillowcases if you keep sets together.
- Organize sheets by mattress size so you can identify the correct set quickly.
- Keep stored bedding away from strong direct sunlight, which can fade dyed fabric.
- Avoid packing sheets so tightly that you have to crush the folded bundles into place.
IKEA’s linen-closet guidance similarly recommends organizing bedding into sets or categories, while Tide’s sheet-care guidance recommends keeping freshly laundered bedding in a dry, cool place and away from direct sunlight for storage.
Note: For ordinary sheets that are washed and rotated regularly, a neat fold is mainly about organization and compact storage. Museum-level recommendations about changing fold lines and padding creases are intended for long-term preservation of valuable or fragile textiles.
The simplest fitted-sheet fold is the one that keeps all four corners nested, hides the elastic, and leaves you with a flat rectangle that fits your storage space.
Frequently Asked Questions
How Do Hotels Fold Fitted Sheets so Neatly?
There is no single universal hotel method. A common professional-style approach is the same corner-nesting technique used at home: join the elasticized corners, lay the sheet flat, hide the elastic inside the fold, form a rectangle, and fold it to the storage size required. Commercial laundries may also use different procedures or equipment.
Why Does Gen Z Not Use Top Sheets?
Not everyone in Gen Z skips a top sheet. Surveys have found generational differences in top-sheet use, with younger adults generally less attached to the extra layer than older adults. Common reasons include simpler bed-making, fewer items to wash, and a preference for sleeping directly under a duvet or comforter. It is a personal bedding preference rather than a rule for an entire generation. YouGov’s age-based survey results provide useful context for the trend.
How Do You Fold a Fitted Sheet Nicely?
Turn the fitted sheet inside out, hold two adjacent corners, fold one corner over the other, and then bring the remaining two corners into the same nested group. Lay the sheet flat, fold the elasticized edges inward, smooth it into a rectangle, and fold that rectangle into thirds or another size that fits your storage space.
What Technique Is Used to Neatly Fold Sheet Corners on the Bed?
If you mean making crisp corners with a flat or top sheet that is already on the bed, the technique is called a hospital corner. You tuck the sheet under the mattress, lift the side fabric into an angled flap, tuck the lower section, and then bring the flap down. That is different from folding a fitted sheet for storage, where the elasticized corners are nested inside one another. Martha Stewart’s bed-making guide demonstrates the hospital-corner method.
Conclusion
Once you understand the corner-nesting step, folding a fitted sheet becomes much more predictable. Start inside out, join all four corners, lay the sheet flat, hide the elasticized edges, and shape the fabric into a rectangle. Then fold that rectangle to match your shelf or drawer. With a little practice, you get a compact bundle without wrestling with four separate elastic corners.
Sources
- Martha Stewart — How to Fold a Fitted Sheet — supports the inside-out, corner-nesting, flat-surface folding method.
- IKEA — How to Fold a Fitted Sheet and Organise Your Closet — supports fitted-sheet folding and organizing linens by set and size.
- Smithsonian Institution — Antique Textile Storage — supports clean, cool, dry, dark textile storage and explains the effects of long-term folds and light exposure.
- Tide — How to Wash Bed Sheets — supports keeping clean bedding in a dry, cool storage area away from direct sunlight.
- YouGov — Top-Sheet Use by Age — provides survey context for generational differences in top-sheet use.