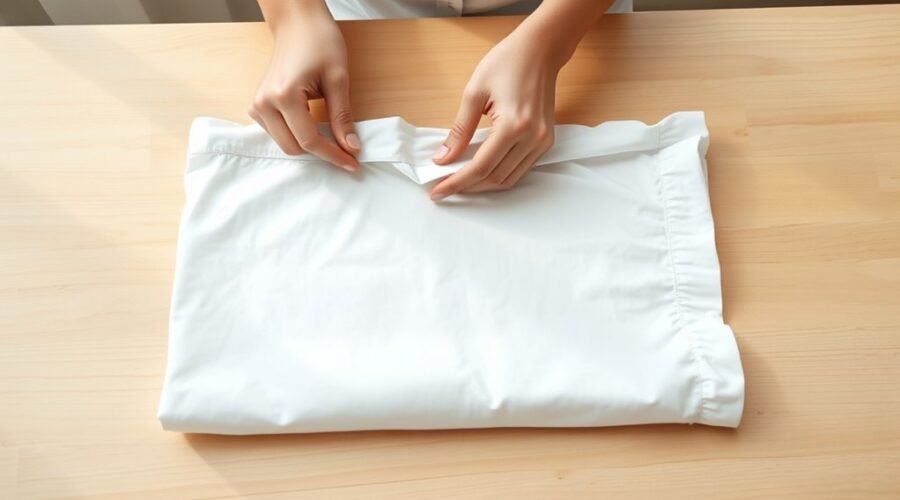
A neat fitted-sheet fold starts with the right setup, and you’ll save time if you work on a flat surface with the sheet inside out. Hold two adjacent corners first, then tuck the opposite corners in so the elastic sits neatly. As you smooth the fabric, the shape begins to take form, but the real trick comes next, when you turn that loose rectangle into a compact square.
Key Takeaways
- Start with the fitted sheet inside out, holding two adjacent corners with the elastic edges facing out.
- Tuck one corner into the opposite corner, then smooth the fabric to create a flatter shape.
- Align the side edges by bringing the shorter ends together until the sheet forms a rectangle.
- Fold the sheet into thirds lengthwise, then fold it again vertically into a neat square.
- Store the folded sheet flat in a labeled drawer or bin, away from sunlight and clutter.
Why a Neat Fitted Sheet Fold Matters
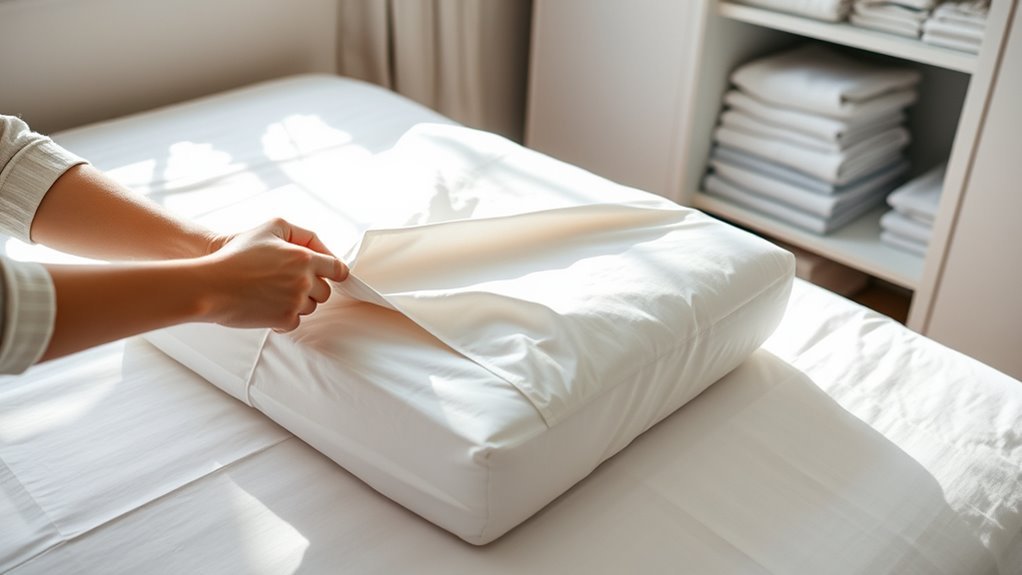
A neat fitted sheet fold matters because it keeps wrinkles to a minimum, helps your sheets last longer, and makes storage much easier. When you use a neat fitted sheet fold, you cut down on creases that can set in during storage and make the sheet look tired. You also protect the elastic and fabric from unnecessary stress, which helps the sheet hold up better over time.
In your linen closet, a compact fold saves space and keeps everything easier to find, so you spend less time digging and more time living. It also gives your bedding a polished look, which supports a clean, orderly bedroom.
If you already fold flat sheets well, you can apply that same discipline here. Start by learning to fold it in half, then refine the shape. With practice, you’ll move faster, waste less effort, and build a routine that works for you.
Set Up a Clear Folding Space
Start by clearing a flat surface so you’ve got plenty of room to work.
Stand where you can move freely, and keep the area around the edges uncluttered so the sheet won’t snag.
A clean, open space makes each fold easier to control and keeps your progress neat.
Clear The Surface
Choose a flat, spacious surface like a bed or clean table, and clear off any clutter so you have plenty of room to fold the fitted sheet without distractions.
Wipe away debris, smooth out wrinkles, and make sure the surface stays clean so you don’t transfer dirt onto fresh linens. A clear flat surface gives you control, keeps your focus sharp, and helps you move with ease.
If you can, use a designated folding spot to keep the process organized and repeatable. This simple setup frees you from frustration and makes the task feel manageable.
When your workspace is ready, you can fold with confidence and keep your bedroom in order.
Stand With Room
Once your folding surface is clear, give yourself enough room to work comfortably. Stand while you fold so you can see the sheet clearly and use your body for leverage.
Keep your feet planted, and arrange the area so you can stretch the fabric fully without bumping into anything. A clean, flat sheet or table helps you guide each corner with control, not frustration.
When you’ve got space to move, the fitted sheet won’t snag, twist, or fight back as much. If you fold in the same spot each time, you build a simple ritual that supports skill and freedom.
Treat your folding station like your workspace: open, intentional, and ready for action. With room around you, the process stays calm, quick, and precise.
Keep Edges Uncluttered
Clear a flat, spacious surface before you begin so you’ve got room to maneuver the fitted sheet without obstruction. Strip away clutter, then claim a table or clean floor where you can spread the sheet and see the entire thing.
Good light helps you spot creases fast, so you don’t fight hidden twists. Keep clips or weights close by; they’ll hold shape while you work. With edges clear, you can move freely and fold without friction.
- Use an uncluttered surface.
- Keep tools within reach.
- Check lighting before you start.
- Spread the sheet inside out if needed to control corners.
Now you’re set to fold with ease, guide each side, and keep only what you need to fold.
Start With the Fitted Sheet Inside Out
Turn the fitted sheet inside out so you can reach the corners more easily.
Hold two adjacent corners, one in each hand, with the elastic edges facing out.
Bring those corners together first so you’re ready to tuck and align the rest.
Turn It Inside Out
Start by turning the fitted sheet inside out so the elastic edge sits on the outside and the corners are easier to manage. You’re not wrestling fabric; you’re setting up a cleaner method that honors fitted sheet history and modern folding techniques.
Then:
- Hold two corners on one end, elastic facing you.
- Tuck the opposite corners into the ones in your hands.
- Smooth wrinkles and shape the fabric into a rectangle.
- Fold it into quarters for simple storage solutions.
This inside-out start gives you control, reduces bulk, and keeps the sheet from slipping everywhere. You’ll work faster, stay organized, and build a tidy square that feels effortless.
Keep the motion firm but calm, and let the fabric fall into place.
Align Corners First
With the sheet still inside out, line up one corner with its opposite so the seams sit neatly together. Use these corner alignment tips to keep the elastic edges matched and the shape under control.
Next, tuck the remaining two corners into each other while the sheet stays inside out. Hold the corners firmly, then smooth away wrinkles with your free hand.
These fitted sheet techniques give you a cleaner, flatter bundle and cut down on wasted motion. When the corners sit flush, you’ve already won half the battle. That tight start improves folding efficiency and makes the rest of the fold feel simple, direct, and free.
From there, you can shape the sheet into a neat square that’s ready to stack or store without struggle.
Tuck the Corners Into Each Other
Hold the fitted sheet inside out with the corners facing you, then tuck one corner into the opposite corner so the elastic folds neatly over itself. This simple move frees you from wrestling with a lumpy sheet and sharpens your corner techniques. Use steady pressure, not force, so the fabric stays controlled and your elastic management improves.
- Tuck the next corner into the first secured pair.
- Keep the elastic edges aligned as you work.
- Fold the last corner into one of the joined corners.
- Tighten each corner so the shape stays compact.
You’re building folding efficiency with every tuck, turning chaos into order without extra effort. As each corner locks in, the sheet becomes easier to handle and less likely to slip away.
Keep your grip calm, repeat the sequence, and let the corners nest together. When they’re all tucked, you’ll have a compact base that’s ready for the next step.
Smooth the Fitted Sheet Flat
Once the corners are tucked together, lay the fitted sheet inside out on a flat surface and stretch the corners out as evenly as you can.
Use your hands to guide the fabric from the center outward, so you create a calm, controlled base instead of wrestling with it.
Hold the two corners at one end in one hand and the opposite corners in the other, then tug gently to release trapped folds.
These smooth techniques work best when you keep the fabric taut without overpulling.
Different fabric types respond differently, so adjust your pressure: crisp cotton may need firmer smoothing, while jersey or knit sheets need a lighter touch.
Focus on wrinkle reduction by pulling the edges away from the center and flattening any bumps as you go.
When the surface looks even and balanced, you’re ready for the next fold, with less bulk and more freedom in every step.
Lay It Flat and Square It Up
Lay the fitted sheet flat on a surface with the elastic edges facing up so you can see and control the shape clearly. This step gives you freedom to work with the sheet, no matter the fabric types.
Use these folding techniques to square it up fast:
- Find each corner and bring one into the opposite corner.
- Keep the edges aligned so you form a tidy rectangle.
- Smooth wrinkles with your hands as you adjust the shape.
- Fold the rectangle into thirds lengthwise, then once more vertically.
Stay precise as you go. If the sheet shifts, reset it and flatten it again. A clean square starts with control, not force.
For bigger or stretchier sheets, work slowly and keep tension even. When you finish, you’ll have a compact shape that fits smart storage solutions and stacks neatly without wasting space.
Fold the Sides Toward the Center
With the sheet inside out and the corners facing you, line up the side edges so they’re easy to work with.
Fold one side toward the center, keeping the elastic edge straight as it reaches the middle.
Then fold the other side in the same way, smoothing the fabric so it stays flat.
Align Side Edges
Hold the fitted sheet inside out with the corners aligned in your hands, then bring the two shorter edges together to form a neat rectangle.
- Use corner alignment techniques so each edge sits squarely in your grip.
- Fold the side edges toward the center, keeping them even and smooth.
- Press out wrinkles as you go; different fabric types respond best to steady, firm hands.
- If you like, use folding tools like a flat surface or board to keep the shape tight.
You’re not wrestling chaos here—you’re shaping order with simple moves.
Keep the sides matched, avoid creases, and hold the form in place so the sheet stays clean, compact, and ready for the next fold.
Fold Toward Center
Fold one side of the fitted sheet toward the center, tucking the elastic edge in so you form a straight, even line.
Then bring the opposite side inward to meet it, keeping both folds aligned. As you work, smooth the fabric with your hands so wrinkles and bunches don’t build up.
These folding techniques help you reclaim order without wasting time or space. Because you’re handling the sheet inside out with the elastic facing up, you keep control and protect the shape, which supports better fabric care.
Once the sides meet cleanly, fold the sheet in half again, or into thirds if that fits your storage solutions better.
You’ll end with a compact square that stacks neatly and stays easy to grab.
Tuck the Top and Bottom In
Tuck the top and bottom in to tighten the shape. Lay the sheet inside out on a flat surface, then align the corners so you can work with control, not chaos. Your top edge folding should run straight toward the center, making a clean line that supports the rest of the fold.
Keep the bottom edge tuck even, so the fabric stays compact and easy to manage.
- Tuck one fitted corner into the opposite corner.
- Repeat with the remaining two corners.
- Smooth the top edge down toward the center.
- Fold the bottom up to meet it.
As you go, guide the fabric so it settles into neat edges. You don’t need force; you need precision. Each tuck should lock the sheet into a flatter square, giving you a tidy result that feels freeing to store and easy to grab later.
Tighten the Edges for a Crisp Finish
With the corners already tucked and aligned, use your hands to smooth out wrinkles while you tighten the fabric around each edge. This tightening technique keeps the sheet controlled and gives you a crisp finish without extra fuss.
Hold the fabric firmly as you work, and keep edge alignment in view so the sheet stays even. Fold the elasticated sides inward, one side at a time, until the shape starts to look more rectangular. If you feel slack, pull gently and reset the tension. You’re not forcing it; you’re guiding it into place.
Keep smoothing as you go so creases don’t settle in. When the edges feel taut and balanced, fold the sheet in half, then in thirds. Finish by checking that every side lines up cleanly. The result is neat, compact, and ready for whatever comes next.
Store Your Folded Fitted Sheet
Once your fitted sheet is completely dry, store it in a designated drawer or storage bin so it stays organized and easy to grab. Choose storage solutions that match your space and keep everything within reach.
- Pair it with a matching flat sheet and pillowcases to build a complete bedding set.
- Label drawers or bins by size and sheet type so you can find what you need fast.
- Keep sheets away from direct sunlight to protect color and elasticity over time.
- Use compact, space saving techniques to reduce clutter and free up room.
These organizational tips help you move through laundry and bedroom routines with less friction.
Organization makes laundry and bedroom routines smoother, with less friction and more ease.
When each set has a clear home, you spend less time searching and more time enjoying a calm, functional space.
Keep your folded fitted sheets neat, dry, and easy to access, and your linen storage will stay simple, flexible, and fully under your control.
Frequently Asked Questions
How Do Hotels Fold Fitted Sheets so Neatly?
Hotels fold fitted sheets by turning them inside out, slipping two corners over your hands, tucking the remaining corners in, then flattening the sheet into a tidy square.
You can copy these hotel laundry practices for better sheet storage solutions and simpler bedding organization tips.
Fold the square into thirds or quarters, smooth each edge, and stack it neatly. You’ll save space, cut clutter, and keep your linens easy to grab.
Why Does Gen Z Not Use Top Sheets?
You skip top sheets because your sheets preferences lean minimalist, and current bedding trends make that feel normal.
You want fewer layers, less laundry, and faster bed-making. Comfort factors matter too: a duvet or blanket usually feels warm enough, so an extra sheet seems unnecessary.
You also may like the freer, less formal vibe of bedding without borders, where you keep your setup simple, casual, and easy to maintain.
How to Fold a Fitted Sheet Nicely?
You fold a fitted sheet nicely by turning it inside out, matching two corners, and tucking one into the other.
Then grab the opposite corners, nest them the same way, and lay the sheet flat.
Smooth wrinkles, fold the elastic edges inward, and finish by folding it into thirds or quarters.
These fitted sheet techniques support better laundry organization tips and simpler bedding storage solutions, so your linen closet stays calm and free.
What Technique Is Used to Neatly Fold Sheet Corners on the Bed?
You use the bed-corner tuck technique: hold two corners, bring them together, and tuck one into the other.
This folding methods approach traps the elastic inside, so you get a flatter edge and less bulk.
Then you smooth the fabric, square it off, and fold it for neat sheet storage.
This simple method keeps your bed corner work quick, organized, and freeing, without wrestling the whole sheet at once.
Conclusion
When you fold your fitted sheet with care, you turn a tricky task into a tidy habit. Keep the corners aligned, smooth out wrinkles, and fold the edges in step by step. With a little practice, the sheet becomes as neat as a gift box, ready for easy storage. You’ll save space, avoid frustration, and make laundry day feel simpler. In the end, a crisp fold gives you order you can see and use.