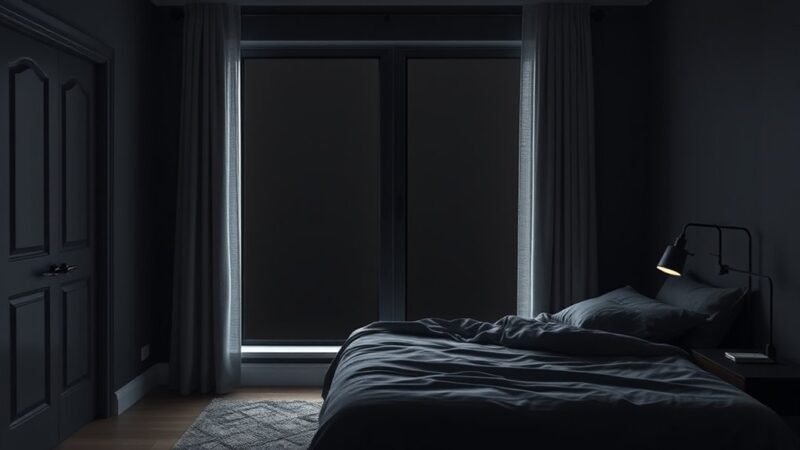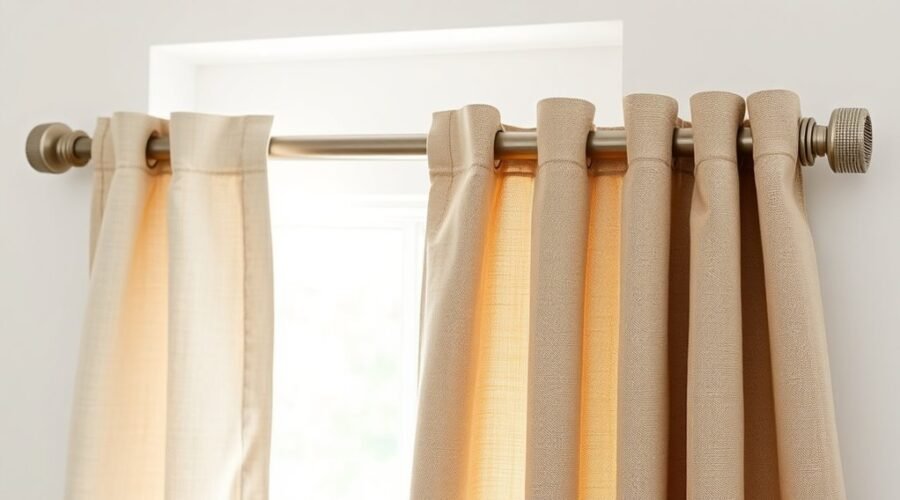
You can add a blackout curtain liner to many existing curtains without replacing the curtains or doing extensive sewing. Depending on the liner and curtain heading, it may attach with hooks, rings, a self-gripping strip, or a built-in hanging system. The key is to measure first, use hardware that matches your curtain style, and control gaps around the window so the liner actually improves darkness and privacy.
Quick Answer
Yes. Most detachable blackout curtain liners can be installed without sewing by using supplied hooks, rings, clips, or a self-gripping adhesive strip. Remove the curtain, lay it face down, attach the liner according to its heading type, then rehang it and adjust the edges. For the darkest result, minimize gaps around the top, sides, and center.
Key Takeaways
- A blackout liner adds a light-blocking layer behind existing curtains and can also improve privacy and reduce some unwanted solar heat gain.
- Many liners attach without sewing, but the correct method depends on whether you have eyelet, pencil-pleat, tape-heading, rod-pocket, or another curtain style.
- Do not assume the liner should be exactly the same size as the curtain; some ready-made liners are intentionally shorter so they remain hidden.
- A liner advertised as 100% blackout can block light through its fabric, but gaps around the curtain can still allow light into the room.
- Check the care label before ironing, washing, trimming, or applying adhesive to technical blackout fabric.
At a Glance
| Time Required | About 20–40 minutes for a typical pair once the hardware and liner are ready |
| Difficulty | Easy for most detachable hook, ring, or self-gripping systems |
| Tools Needed | Tape measure, supplied hooks/rings or fastening strip, stable step stool or ladder, and optional low-heat iron or steamer only if the care label permits |
| Cost | Installation usually costs nothing extra when the liner includes its attachment hardware; liner prices vary by size, fabric, and thermal features |
Can You Attach a Blackout Curtain Liner Without Sewing?
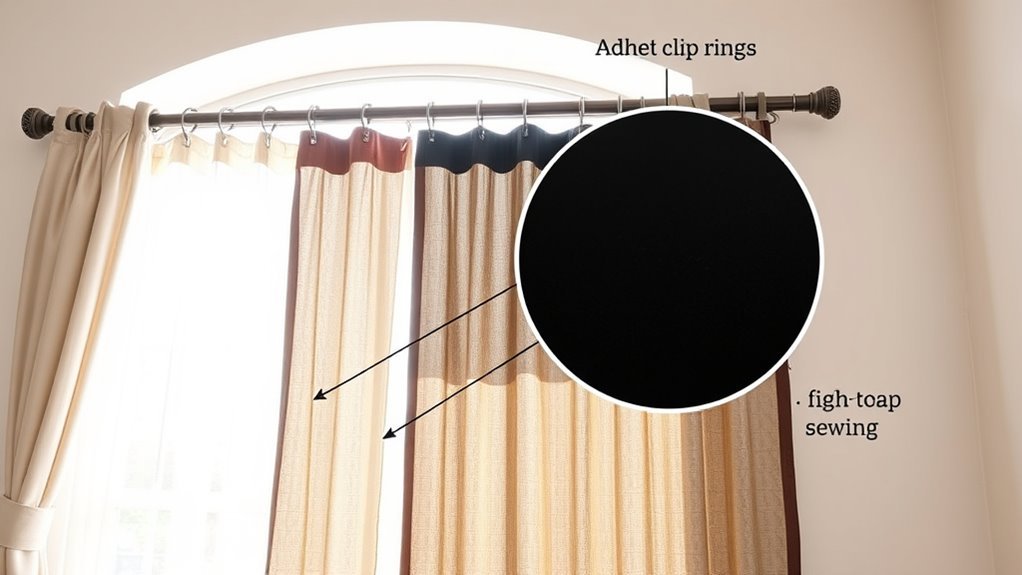
Yes. Many blackout curtain liners are specifically designed to attach without sewing. Common systems use curtain hooks, rings, clips, or self-gripping strips attached behind the decorative curtain.
For example, Dunelm’s detachable-lining instructions show hook-based installations for both pencil-pleat and eyelet curtains. Moondream also documents hook-based lining systems for existing curtains.
Self-gripping strips can be another no-sew option. However, adhesive-backed strips do not behave the same on every fabric. Heavy, dusty, highly textured, coated, or delicate curtains may provide a weaker bond or may not be suitable for adhesive at all.
Note: A manufacturer’s “100% blackout” rating usually describes the liner’s light-blocking material. It does not guarantee that a finished room will be completely dark if daylight can enter above, below, beside, or between the curtain panels.
A properly fitted liner can make a bedroom substantially darker while increasing privacy and adding another fabric layer at the window. Window coverings can also help block direct summer sunlight and retain warmth during colder weather, according to the U.S. Department of Energy.
What You Need to Install a Blackout Liner
You do not need many tools for most detachable blackout liner installations. The important part is having the attachment hardware that matches both the liner and the curtain heading.
Needed Tools and Materials
- Blackout curtain liner: sized according to the manufacturer’s chart.
- Hooks, rings, clips, or self-gripping strip: use the hardware supplied with or specified for the liner.
- Tape measure: for checking curtain and liner dimensions before installation.
- Stable step stool or ladder: if the rod or track is above comfortable reach.
- Clean, flat surface: such as a table, clean floor, or bed where the curtain can lie flat.
- Optional iron or steamer: only when the liner’s care instructions permit heat.
Warning: Check the liner’s care label before applying an iron, steamer, adhesive, or scissors. Blackout coatings and technical fabrics vary widely. Also use a stable ladder or step stool rather than furniture when working above shoulder height.
Preparing the Curtain Area
Clear enough space to lay each curtain panel flat. Remove the curtains from the rod or track and place them face down so you can reach the back of the heading easily.
Untangle the supplied rings or hooks before starting. If you have pencil-pleat curtains, check whether the liner instructions require the heading to be loosened before attachment. Dunelm, for example, recommends flattening previously gathered pencil-pleat headings before fitting its detachable lining system.
If the liner is creased, follow its care instructions rather than automatically ironing it. Some products permit only low heat, while others should not be ironed.
Liner Hardware and Accessories
Check that every hook, ring, clip, or fastening strip is present before you take down the curtains. Missing attachment points can make the lining pull unevenly or sag between supports.
Do not substitute random hooks unless they fit both the liner heading and the curtain system correctly. Hardware designed for pencil-pleat heading tape may work differently from rings used behind eyelet curtains.
If your liner uses adhesive-backed fastening tape, test an inconspicuous area of the curtain first when possible. Adhesive can behave differently on velvet, loose weaves, coated fabric, or delicate materials.
How to Measure for a Blackout Curtain Liner
Measure before buying or altering a liner. The correct dimensions depend on how the liner attaches, so the face curtain’s full width and drop are only a starting point.
- Measure the curtain, not only the window. Measure each curtain panel according to the liner manufacturer’s sizing instructions.
- Check the heading style. Note whether the curtain is pencil pleat, tape heading, eyelet/grommet, rod pocket, or another design.
- Check the intended liner drop. Some detachable liners are made shorter than the decorative curtain so the lining stays hidden.
- Compare with the manufacturer’s chart. Do not assume a one-to-one curtain-to-liner dimension if the liner system specifies otherwise.
For example, Dunelm states that some of its ready-made eyelet and pencil-pleat lining kits are intentionally 3–4 inches shorter than the main curtain. That design keeps the lining below the curtain heading and slightly above the decorative curtain’s bottom hem.
Pro Tip: Before attaching anything permanently, hold the liner behind the curtain and check it from the front. The liner should cover the window area effectively without sticking out above the heading, past the sides, or below the decorative hem.
How to Attach a Blackout Curtain Liner
The exact attachment method depends on the product, but the basic workflow is similar for most detachable blackout curtain liners.
- Read the liner instructions. Identify the intended attachment system and any care restrictions.
- Remove the curtains. Lay each curtain face down on a clean, flat surface.
- Position the liner. Center it behind the curtain and orient the lining according to the manufacturer’s instructions.
- Attach the hardware. Insert hooks into compatible heading-tape pockets, connect rings or clips, or apply the supplied self-gripping system.
- Support the liner evenly. Space the attachment points as directed so the liner does not sag.
- Rehang the curtain. Place the panel back on the pole, rod, or track.
- Adjust the drape. Check that the liner hangs level, remains hidden from the front, and moves freely when the curtain opens and closes.
- Test during daylight. Close the curtains and look for bright gaps around the edges or between panels.
If the liner uses an adhesive/self-gripping strip, clean loose dust from the attachment area first and apply the strip exactly where the manufacturer specifies. Avoid putting adhesive on visible face fabric.
How to Hang a Blackout Liner on Different Curtains
A liner that works perfectly on a pencil-pleat curtain may need different hardware on an eyelet panel. Match the blackout liner to the curtain heading rather than trying to force one attachment method onto every style.
Curtain Types
- Pencil-pleat or tape-heading curtains: Detachable liners commonly use hooks inserted through the liner heading and compatible pockets in the curtain heading tape.
- Eyelet or grommet curtains: Use the eyelet-specific method supplied with the liner. Some systems add rings to the pole and connect the liner to those rings with hooks.
- Rod-pocket curtains: A liner can share the rod only when its own construction is designed for that arrangement. Do not assume every blackout liner has a rod pocket.
- Clip-ring curtains: Use clips only when they can support the combined fabric weight without slipping or damaging the material.
- Self-gripping/adhesive systems: These can work across several curtain styles because they attach to the back of the face curtain rather than depending entirely on its heading.
Hanging Methods
Hooks and heading tape provide a tidy removable installation for compatible pencil-pleat curtains. Manufacturer instructions generally place the hooks through both the liner heading and the curtain’s tape system.
Eyelet ring-and-hook systems work differently. In Dunelm’s documented method, rings are placed on the pole between eyelets, while hooks in the liner attach to those rings.
Self-gripping strips allow fast removal of the lining from the mating strip, but the adhesive portion attached to the curtain should not automatically be considered residue-free or suitable for every fabric.
Rod-pocket systems should be used only when both the liner and curtain arrangement are designed to move properly on the same rod.
After installation, open and close the curtains several times. The liner should travel with the face curtain rather than bunching, catching, or pulling away from the attachment points.
Best Blackout Liner Options for Curtain Types
The best blackout liner is the one that matches your curtain heading, dimensions, light-control goal, and care needs. Do not choose by fabric thickness or color alone.
- For pencil-pleat curtains: look for detachable liners with compatible heading tape and hooks.
- For eyelet curtains: choose a liner with an eyelet-compatible hook/ring system or another method specifically approved by the manufacturer.
- For renters or reversible installations: a detachable hook system may be preferable because it avoids permanently altering the curtain fabric.
- For partial darkening: products rated to block only 75%–85% of light may be adequate, but they should be treated as room-darkening rather than true full-blackout solutions.
- For maximum light control: choose a manufacturer-rated blackout liner and combine it with good window coverage to reduce edge gaps.
- For thermal performance: choose a liner specifically described and tested as thermal rather than assuming every blackout fabric provides the same insulation.
Some current technical liners are manufactured with both thermal and blackout functions. For example, Moondream sells a hook-mounted thermal blackout liner and provides specific performance information for that product. Those figures should not be applied to unrelated liners.
Ordinary blackout lining also should not be confused with acoustic treatment. Extra fabric may slightly soften echoes or room sound, but meaningful noise reduction requires an acoustically designed product. A 2016 published study of enhanced acoustic privacy curtains found measurable effects that varied considerably with room configuration, showing why generic blackout fabric should not be marketed as soundproofing.
Blackout vs. Thermal Curtain Liners
Blackout and thermal describe different functions, even though one product can offer both.
- Blackout liner: primarily designed to reduce visible light transmission.
- Thermal liner: designed to reduce heat transfer or solar heat gain at the window.
- Thermal blackout liner: combines both functions in one construction.
- Acoustic curtain or liner: specifically engineered and tested for sound absorption or sound reduction.
The U.S. Department of Energy recommends curtains and other window coverings as a practical way to block direct sunlight during hot weather and help retain warmth during winter. However, the actual energy benefit varies with the window, climate, fabric, coverage, and how the curtains are used.
The liner’s material controls how much light passes through the fabric; the installation controls how much light can bypass it around the edges.
How to Fix Blackout Liner Fit Problems
Even a good liner performs poorly when it hangs crooked, leaves large gaps, or pulls away from its attachment points. Diagnose the fit problem before trimming or modifying the fabric.
| Problem | Better Fix |
|---|---|
| Liner is too narrow | Use a wider liner or an additional compatible panel rather than stretching the fabric. |
| Liner hangs too low | Raise adjustable hooks or use another approved attachment position before considering hemming. |
| Liner is crooked | Reposition hooks, rings, clips, or the self-gripping connection so attachment points are level. |
| Liner shows below curtain | Raise the liner or hem it only if the manufacturer’s instructions permit alteration. |
| Fastening strip peels away | Check fabric compatibility, clean the permitted attachment area, and follow the fastening manufacturer’s reinforcement instructions. |
| Light enters at curtain edges | Improve curtain coverage rather than adding more thickness to the liner itself. |
Check the hooks and attachment points after the first few days of use. Opening and closing the curtains can reveal uneven tension that was not obvious during installation.
How to Reduce Light Leaks Around Blackout Curtains
When a blackout liner seems ineffective even though its fabric is opaque, the problem is often light bypassing the curtain rather than passing through it.
- Light at the sides: use a curtain arrangement that extends beyond the window opening so the fabric covers more of the wall beside the frame.
- Light above the curtain: reducing the gap between the top of the curtain and the wall or mounting point can help.
- Light between two panels: increase the center overlap when the curtain system allows it.
- Light at the bottom: make sure the face curtain provides adequate window coverage, while keeping a detachable liner hidden according to its sizing instructions.
- Light around a projecting rod: a wraparound-style rod or another close-to-wall arrangement can reduce side leakage.
Do not automatically buy a thicker liner when the existing material already blocks transmitted light. Correcting the installation geometry is often more effective.
Blackout Liner Care and Maintenance
Care requirements vary widely between polyester liners, coated blackout fabrics, metallized thermal linings, and other technical materials. Always follow the label supplied with your liner.
- Check whether the liner is machine washable, dry-clean only, or spot-clean only.
- Use only the permitted iron or steaming temperature.
- Avoid ironing directly over adhesive fastening material unless the manufacturer specifically allows it.
- Do not cut a finished or coated liner unless the product instructions say it can be altered.
- Check hooks, rings, clips, and adhesive points periodically for loosening.
- Rehang the liner evenly after cleaning so one attachment point does not carry more weight than the others.
Frequently Asked Questions
How do I attach blackout curtain linings?
Remove the curtain and lay it face down. Position the liner behind it, then attach the supplied hooks, rings, clips, or self-gripping strip according to the liner instructions. Rehang the curtain, check that the liner sits evenly, and adjust any attachment points that pull or sag.
What are the disadvantages of blackout curtains?
Blackout curtains and liners add fabric weight, reduce natural daylight when closed, may require stronger hardware, and can be bulkier to wash or handle. They also do not guarantee complete room darkness unless the installation controls light gaps around the window.
Do blackout curtains need a liner?
No. Curtains made from an effective blackout construction may provide enough light control on their own. A separate liner is useful when you want to upgrade decorative curtains that currently allow too much light through or when you want a detachable layer with additional thermal features.
What is the best blackout curtain liner?
Choose a liner with a clearly stated blackout rating, dimensions suited to your curtain system, compatible attachment hardware, and care instructions you can follow. If thermal performance matters, choose a liner specifically designed and tested for thermal use rather than relying only on fabric thickness or color.
Should a blackout liner be the same size as the curtain?
Not always. Some detachable liners are intentionally shorter or narrower so they stay hidden behind the decorative curtain. Use the liner manufacturer’s sizing chart instead of automatically ordering the exact dimensions of the face curtain.
Can I attach a blackout liner with Velcro or a self-gripping strip?
Yes, when the liner is designed for that fastening method and the curtain fabric is suitable for the adhesive or attachment system. Test delicate or textured fabrics carefully and follow the manufacturer’s instructions because adhesive performance and removability vary by material.
Conclusion
Adding a blackout curtain liner is one of the simplest ways to improve the light control of curtains you already own. Hook-and-tape systems work well for many pencil-pleat curtains, while eyelet curtains may use an additional ring-and-hook arrangement. Self-gripping systems provide another no-sew option when the fabric is suitable.
The best result comes from matching the liner to the curtain heading, following the manufacturer’s sizing instructions, and fixing light gaps around the window instead of relying on fabric thickness alone. Check the care label before ironing, washing, trimming, or applying adhesive, and your liner should remain neat, removable, and effective.
Sources
- Dunelm — How to Hang Curtain Linings — hook, heading-tape, pencil-pleat, and eyelet installation guidance.
- Dunelm — Blackout Pencil Pleat Curtain Linings — liner sizing, drop, and care guidance.
- Moondream — How to Install a Curtain Lining — detachable hook installation guidance.
- Moondream — Thermal Blackout Lining — example of manufacturer-specific blackout, thermal, hook, and care specifications.
- U.S. Department of Energy — 5 Tips for Energy-Saving Renters — use of curtains and other window coverings for solar control and winter warmth retention.
- PubMed — Acoustic Assessment of Speech Privacy Curtains — evidence showing that meaningful acoustic performance is associated with specialized curtain designs and varies by room configuration.