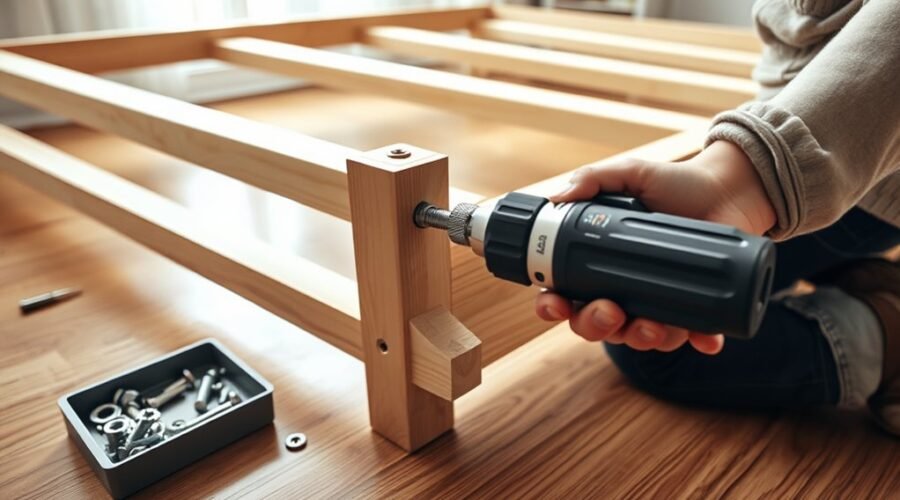
Most bed frame bolts strip because you tighten them before the holes are fully aligned. You can avoid that by gathering the right tools, checking every part, and hand-threading each bolt first. Then tighten in a controlled sequence, not all at once, so pressure stays even. A small setup mistake can create wobble later, and the fix is usually simpler than you’d expect.
Key Takeaways
- Gather the correct tools, sort hardware, and hand-thread every bolt before using a wrench or drill.
- Lay out all bed frame parts on a flat surface and verify every hole, screw, and bracket matches the instructions.
- Align each joint fully before tightening, then tighten bolts gradually in a cross pattern to distribute pressure evenly.
- Use controlled torque and stop when bolts are snug to avoid over-tightening and stripping the threads.
- Recheck stability after assembly, and repair any damaged holes or stripped hardware before forcing parts together.
Gather the Right Bed Frame Tools
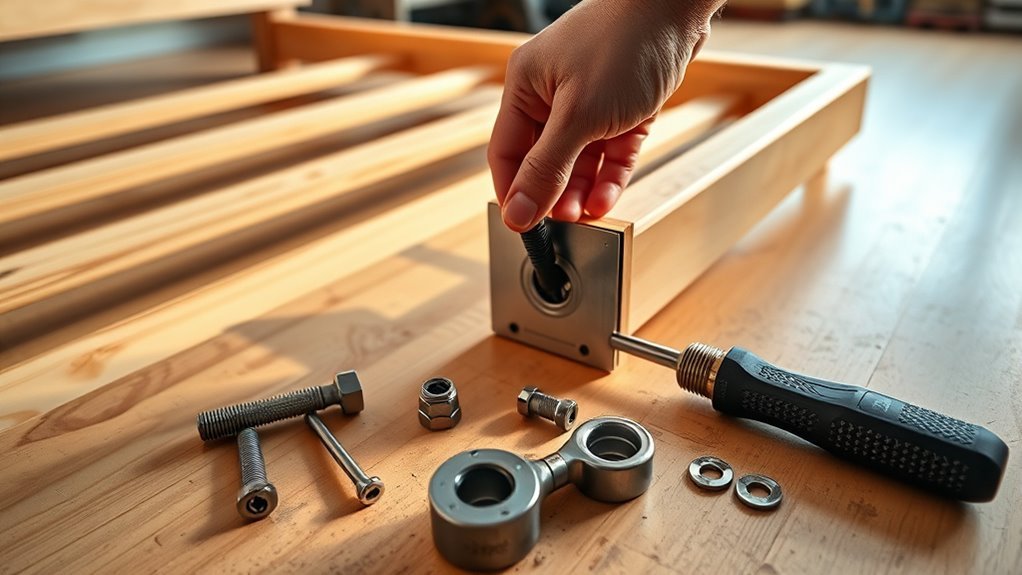
Before you begin assembling the bed frame, gather a screwdriver or drill, a wrench, and an Allen key, since these are the core tools most frames require.
Keep your tools within reach so you can follow the assembly instructions without interruption.
Sort screws, bolts, and fasteners into small trays; this simple organization keeps you from mixing parts and preserves your pace.
Use a torque wrench when you tighten bolts so you apply controlled force instead of overdriving hardware.
Hand-thread each screw first to verify alignment, then switch to power tools for final tightening.
If you’re working on a larger frame, use a level as you assemble it to confirm the structure stays square.
That precision reduces stress on joints and helps the frame hold steady.
When you prepare your tools correctly, you claim efficiency, protect the hardware, and build with confidence.
Check All Bed Frame Parts
Lay out every bed frame part first—headboard, footboard, side rails, slats, and all included hardware—so you can confirm nothing’s missing before assembly begins.
Then check all bed frame parts against the parts list and inspect each component for cracks, bent edges, stripped threads, or warped surfaces. Even small defects can compromise alignment, reduce stability, and make fasteners bind.
Inspect every part for cracks, bends, stripped threads, or warping before assembly to avoid alignment and stability problems.
Verify that the screws and bolts match the manufacturer’s specifications; the wrong size or thread pattern can cause stripping, cross-threading, or gaps in the frame.
Sort hardware by type and size into separate groups so you can grab each piece quickly without confusion.
As you handle each part, test-fit connections gently. If anything resists, stop and identify the cause instead of forcing it.
Careful inspection keeps you in control, protects the hardware, and helps you build a solid frame without unnecessary frustration or damage.
Lay Out the Bed Frame Pieces
Start by placing the headboard, footboard, side rails, slats, and all hardware on a soft, flat surface so you can protect the finish and reach every part easily.
In bed frame assembly, organize each piece in the order you’ll install it, with matching parts grouped together. Put the side rails parallel to the frame area, then set the slats nearby so you can grab them without searching.
Count every screw, bolt, washer, and bracket, and confirm nothing’s missing, bent, or worn. A level surface helps the frame sit true and keeps components from fighting each other during setup.
Before you begin, read the instructions from start to finish so you know each part’s orientation and connection points. This preparation gives you control, reduces mistakes, and lets you assemble with confidence instead of wrestling the hardware.
Align Bed Frame Holes Before Tightening
Once the frame pieces are in place, align every hole and joint before you insert or tighten any screws or bolts. You need to align bed frame holes so the brackets, side rails, and support rails meet cleanly without forcing them.
Check that each component sits in its intended position, then use a level to confirm the frame is square. If the frame twists, loosen your grip on the parts and correct it now; small errors create stress later.
Check each component’s position, then level the frame; correct twists now, before small misalignments create lasting stress.
- Hand-thread each fastener first to verify smooth fit.
- Watch for gaps between rails, legs, and joints.
- Reposition any misaligned support rails before proceeding.
- Inspect each connection as you go.
Tighten in sequence, not all at once, so pressure spreads evenly across the structure. That method helps you keep control, protect the threads, and finish with a bed frame that holds firm and supports your space.
Tighten Bed Frame Bolts Without Stripping Them
Hand-thread each bed frame bolt into its hole before using any tool, so you can confirm the threads engage cleanly and avoid cross-threading.
Then use a torque wrench to tighten bed frame bolts to the manufacturer’s specification; that keeps your assembly secure without crushing threads.
If your frame has multiple joints, tighten them gradually in a crisscross pattern so clamping force spreads evenly and the structure stays true.
A small amount of lubricant or anti-seize on the threads lowers friction and gives you finer control during tightening.
Watch for resistance: if a bolt starts to bind, back it off slightly, realign it, and try again. Don’t force it.
That disciplined approach protects the hardware, preserves your freedom from rework, and lets you finish the bed frame with precision and confidence.
Repeat the process for each bolt, checking feel and alignment as you go.
Add Slats and Center Support
Set the slats evenly across the frame, using about 5 to 6 slats that are 0.5 to 1 inch thick and 3 to 6 inches wide for solid mattress support.
Space each slat consistently so the load stays balanced and your mattress rests on a stable platform. Use a level to confirm alignment before you fasten anything; that keeps the bed true and helps prevent shifting.
Space slats evenly and check level before fastening to keep your mattress stable and your bed frame true.
If your frame calls for it, install the center support beam and secure it with screws so weight distributes evenly across the structure.
- Check that each slat seats fully on its ledges.
- Keep fasteners snug, not over-tightened, to avoid stripping.
- Confirm the center support beam sits straight under load.
- Recheck stability during use so the support remains secure.
This setup gives you a freer, more reliable sleep foundation without wasting hardware or weakening the frame.
Fix Loose Joints and Wobble
Tighten each screw and bolt gradually, starting with a loose fit, then secure the hardware fully to avoid stripping threads.
Inspect every joint for movement and re-tighten any fasteners that have worked loose to reduce wobble.
If the frame still shifts, add thread-locking adhesive or reinforce the joint with wood glue or dowels.
Tighten Joint Hardware
Secure the frame by checking every joint for looseness and wobble as you assemble it. To tighten joint hardware, hand-thread all screws or bolts first so you align the threads and avoid cross-threading.
Then use a wrench or socket set to tighten them gradually, keeping pressure even and resisting the urge to crank one fastener hard.
- Check each joint after the initial pass.
- Revisit hardware after you move the frame.
- Match tightening to the maker’s torque spec.
- Replace or repair any stripped bolt promptly.
Vibrations can relax connections over time, so you should inspect the frame during assembly and after use.
Tight, correctly seated hardware gives you a stable base and protects your freedom from avoidable repairs.
Stabilize Wobbly Frame
If the frame still wobbles after you’ve checked the fasteners, inspect every joint for movement with a gentle shake. You should hand-tighten any loose screws and bolts until they seat firmly, but don’t over-tighten them or you’ll strip threads and weaken the connection.
On wooden frames, apply wood glue to dowels or mating joints to fill gaps and lock the parts together. Add corner brackets, and brace the side rails where they meet the legs or headboard.
If wobble remains, install extra support legs or a center support beam to distribute weight more evenly. Recheck the frame after assembly and retighten as needed.
A stable bed gives you solid rest, less noise, and more freedom to move without compromise.
Replace Stripped Bed Frame Hardware
When bed frame hardware strips, start by matching the replacement screws or bolts to the original size, thread type, and length so the new fastener seats correctly and holds under load.
To replace stripped bed frame hardware, inspect each joint before you assemble a bed frame so you can restore the proper fit fast.
- Use the correct metric or imperial size, not “close enough.”
- Test a thread repair kit, like Helicoil, for damaged metal inserts.
- Fill ruined wood holes with glue and a dowel, then redrill.
- Tighten with a torque wrench to prevent future stripping.
You’ll avoid forcing mismatched parts and preserve the frame’s integrity.
If a hole’s threads are gone, a repair insert can reclaim the connection; if the material’s too damaged, rebuild the hole and start clean.
After replacement, keep an eye on the hardware and retighten it periodically so your setup stays secure and you stay free from avoidable failures.
Final Bed Frame Stability Check
With the hardware replaced and tightened correctly, you can finish by checking the bed frame’s stability.
Begin your final bed frame stability check by gently shaking the frame from several points; it shouldn’t shift, creak, or rack. If you feel movement, recheck each screw and bolt for snugness, but don’t overtighten, or you’ll risk stripping threads again.
Next, place a level across the side rails and center supports to confirm the frame sits even. Uneven support can create discomfort and shorten hardware life.
Inspect the support legs for full contact with the floor, since gaps can cause wobble. If the frame still feels loose, add support beams or extra slats where needed.
After setup, inspect high-use joints regularly for wear, loosening, or bent parts. That’s how you keep the structure stable and dependable over time.
Frequently Asked Questions
How to Assemble a Bed Frame With No Instructions?
You can assemble it by identifying each part, matching side rails, headboard, footboard, and slats, then dry-fitting everything before tightening.
Lay out all hardware, compare hole patterns, and hand-thread bolts first with an Allen key or wrench.
Keep joints square and stable as you go.
These bed frame assembly tips help you build a DIY bed frame independently, even without instructions, while avoiding confusion and stripped bolts.
How to Attach Headboard to Bed Without Bolts?
You can attach your headboard using clamps, brackets, or a mounting kit. For secure headboard attachment, align the holes, add a wooden spacer, and tighten the hardware evenly.
If you want bed frame alternatives, use adhesive pads or Velcro for temporary stability. You’ll avoid bolts, preserve the finish, and keep control over the setup.
Check fit, test movement, and adjust until the headboard sits firm and true.
Is It Hard to Assemble a Bed Frame by Yourself?
No, you can usually assemble it yourself if you stay organized and use the right tools needed.
You’ll want a screwdriver or drill, wrench, and Allen key, then follow the instructions step by step.
The common mistakes are overtightening, mixing parts, and skipping alignment checks.
Loosely fit every fastener first, then tighten gradually.
If you need more control over heavy pieces, ask for help or use a support surface.
What Kind of Bolts Do You Need for a Bed Frame?
You need bolts that match your bed frame materials and the frame’s threaded holes: usually steel hex or carriage bolts, 1/4-inch to 5/16-inch in diameter, with coarse or fine threads as required.
Use matching nuts and washers to spread load and prevent loosening. Choose the correct bolt head so your tools fit snugly.
If you replace hardware, match length, thread type, and strength rating exactly.
Conclusion
You’ve now assembled your bed frame without turning the bolts into shiny little victims. If you gathered the right tools, aligned every hole, and tightened in sequence, you did the obvious thing correctly, which is apparently a rare achievement. Keep checking joints, adding support where needed, and replacing damaged hardware before it stages a rebellion. Finish with one last stability test, because a bed that wobbles at midnight isn’t rustic—it’s just bad engineering.