
If your bed frame feels like a puzzle missing a few pieces, you’ll need to verify fit before you force the issue. Measure the interior length and width, confirm 4–6 inches of clearance, and remove any center slats or brackets that block the base. Then center the adjustable unit, set the leg height, reconnect power, and test the frame’s movement—because one overlooked detail can stop the whole setup.
Key Takeaways
- Measure the existing bed frame to ensure 4–6 inches of clearance for the adjustable base.
- Remove slats, center supports, and any obstructions that could block the base’s movement.
- Center the adjustable base inside the frame and confirm it sits level and stable.
- Install the legs securely, setting the base height to match the frame and mattress setup.
- Reconnect power, keep cords clear, and test the base with the remote for smooth operation.
Check If Your Bed Frame Fits an Adjustable Base
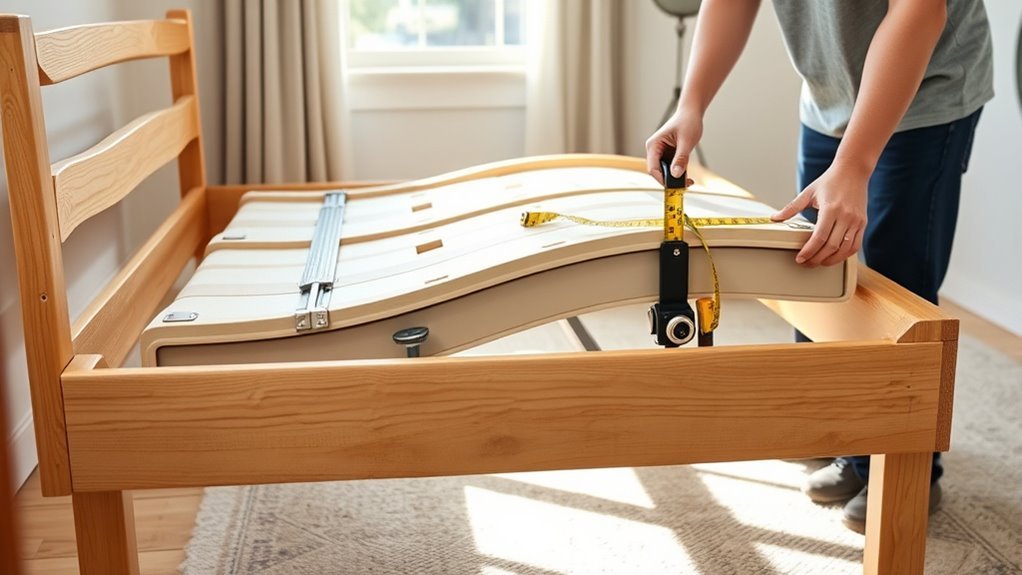
Start by measuring your bed frame to confirm it leaves at least 4–6 inches of clearance for the adjustable base’s height and movement.
Next, inspect the interior dimensions and compare them with the adjustable bed frames you’re considering. You need a frame that’s compatible with an adjustable base, so verify the perimeter is sturdy, square, and free of crossbars or panels that could block motion.
Check for a center support leg; if it’s present, confirm it won’t interfere with the base’s lift points.
Then assess whether you can remove the slats without weakening the frame.
Finally, match your mattress to the system before you install an adjustable bed. Memory foam, hybrid, and latex models flex cleanly, while traditional innerspring designs often resist articulation.
When you confirm these conditions, you keep control, reduce friction, and create a setup that supports comfort without compromise.
Remove Slats and Other Obstructions
Unscrew and remove any center slats first so the adjustable base can move without obstruction.
Then clear out crossbars, panels, drawers, or other frame features that could interfere with installation.
Once you’ve removed these obstructions, check that the frame is open and compatible for a snug fit.
Remove Center Slats
Remove any center slats or other obstructions so the adjustable base can sit securely inside the frame.
Next, remove center slats by unscrewing each connector and lifting the pieces out of the existing frame. Most adjustable bed base models need an open cavity, so this step supports proper installation.
Check that the perimeter rails and support legs remain solid; they’ll carry the load once the slats are gone.
If the frame includes fixed storage or built-in features that block access, don’t force the fit. Choose a frame that allows free placement instead.
Label the removed hardware, then store it in a safe, dry place. That way, you can return to a traditional bed later without searching for parts.
Clear Frame Obstructions
Clear the bed frame of anything that could block the adjustable base’s movement, beginning with the slats. Remove each slat, then inspect the interior for frame obstructions like drawers, brackets, or decorative inserts.
If your frame includes them, take them out so the adjustable bed bases can shift freely through their full range. Next, check the center support legs; keep them only if they don’t interfere and can strengthen the setup.
Confirm the frame’s side rails and head-to-foot dimensions are compatible with the base before you proceed. Most slats come out quickly, so work methodically and avoid forcing parts.
When the frame is open and clear, you’ve created the space needed for a secure, liberated installation.
Place the Adjustable Base in the Frame
Before you place the adjustable base, confirm that your bed frame has enough clearance and support to accept it without obstruction. Slide out any remaining slats, then inspect the interior so the frame won’t bind the base during movement.
Center the adjustable base allows you to align it within the existing frame with control and precision. Lower it slowly, keeping both sides even, until it sits snugly without gaps at the rails or corners.
Next, check any underbed lighting connections and make those adjustments now for ideal functionality. If the base requires a height change before the final installation, set it before locking anything in place.
Verify that the assembly is level and stable by pressing on each corner and watching for rocking or shifting. When the base stays steady, you’ve positioned it correctly and preserved the freedom of smooth, independent operation.
Install the Legs and Set the Height
Tilt the adjustable bed base to access the underside, then remove the legs from their packaging and match each segment to the height you want.
With the base supported, install the legs by threading each one into its designated port on the adjustable bases. Turn them clockwise until they’re snug, but don’t overtighten. Work in a cross pattern so you keep the structure balanced while you complete the height adjustment.
Install each leg into its designated port, turning clockwise until snug, and work in a cross pattern for balance.
Choose the leg segments that fit your existing frame, aiming for a 2- to 4-inch lift if you need clearance or a lower profile.
After all legs are attached, set the base on a flat surface and check that it sits stable and level. If one corner rocks, back off that leg, reset the segment, and retighten.
Once the stance is even, you’ve freed the base to move into the frame with a clean fit and dependable support.
Reconnect Power, Cables, and Links
With the base now seated in the frame and leveled, route the power cords toward the head of the bed so they stay accessible for plugging in. In your adjustable bed frame, unwrap all cables and check each connector before you reconnect power.
Follow these steps:
- Inspect the underbed lighting leads and actuator plugs, then seat them firmly into the control box.
- If you have a split king, save any bed link connectors with the hardware; if your setup uses sync cables, reconnect them only when your configuration requires it.
- Plug the base into a grounded outlet. King and California King bases usually need two separate plugs, so verify both are live.
Keep cables clear of pinch points and moving parts. This setup gives you a clean, independent foundation and preserves the freedom to adjust each section without fighting tangled wiring or missed connections.
Add the Mattress and Test the Base
Now that the base is powered and clear of obstructions, place the compatible mattress directly on top of it and center it within the frame so it sits snugly and supports full movement.
Confirm the mattress is made for adjustable beds; a traditional innerspring design may resist flexing and limit performance.
Verify your mattress is adjustable-bed compatible; traditional innerspring designs can limit flex and reduce performance.
If you’re installing a king size setup, align both sides evenly so the mattress helps the base move without binding.
Use the remote to test the base, raising the head and foot sections in sequence.
Watch for smooth travel, even articulation, and proper reset at each stop.
Listen for grinding, popping, or strain; those signs can mean misalignment or incompatibility.
If resistance appears, stop and reposition the mattress and frame components.
After adjustments, verify power, control function, and underbed lighting.
When everything responds cleanly, you’ve achieved ideal support and a freed, fully functional sleep system.
Frequently Asked Questions
Can I Use an Adjustable Base With My Existing Bed Frame?
Yes, you can use an adjustable base with your existing bed frame if you check frame compatibility factors first.
Measure clearance, remove slats or a box spring if needed, and confirm sturdy support legs and a strong perimeter.
Follow mattress selection tips: choose memory foam, hybrid, or latex.
Expect installation challenges with drawers or tight fits.
The adjustable base benefits show up in user experience feedback: better comfort, freedom, and control.
How Do You Put an Adjustable Bed Inside a Bed Frame?
You slide the adjustable base into the frame—because apparently beds now demand diplomacy.
First, verify frame compatibility issues: remove slats, measure clearance, and clear obstacles.
Next, center the base, route power and actuator cords to the head, and secure access to adjustable bed features.
Then place a compatible mattress, using mattress selection tips and installation best practices.
You’ll gain the benefits of adjustability and a cleaner, freer sleep setup.
Can You Put a Frame Around an Adjustable Bed Frame?
Yes, you can put a frame around an adjustable bed frame if you match bed frame types and clearances.
First, remove slats and check frame height considerations so the base moves freely.
Next, confirm style compatibility and avoid drawer obstructions.
Then, choose a mattress with the right flexibility for adjustable base benefits.
Finally, verify support points and fit.
You’ll keep comfort, freedom, and a clean look.
Why Are Some Bed Frames Not Compatible With Adjustable Beds?
Like a medieval gate, some frames just won’t yield. You’ll hit compatibility issues when frame design blocks articulation, lacks center support, or misses clearance.
Next, check support requirements and weight limits; weak rails can’t handle movement.
Then compare mattress types, since rigid or oversized ones can bind.
If the frame uses solid panels or crossbars, it’s not built for your adjustable bed, and you won’t move freely.
Conclusion
When you finish, your adjustable base should sit like a well-tuned machine inside the frame, with no gaps, obstructions, or loose connections. Double-check the frame fit, reinstall only compatible components, and make sure the legs are set to the correct height. Reconnect the power and cables securely, then place the mattress and test every function with the remote. If the base moves smoothly and stays aligned, you’ve set it up correctly.