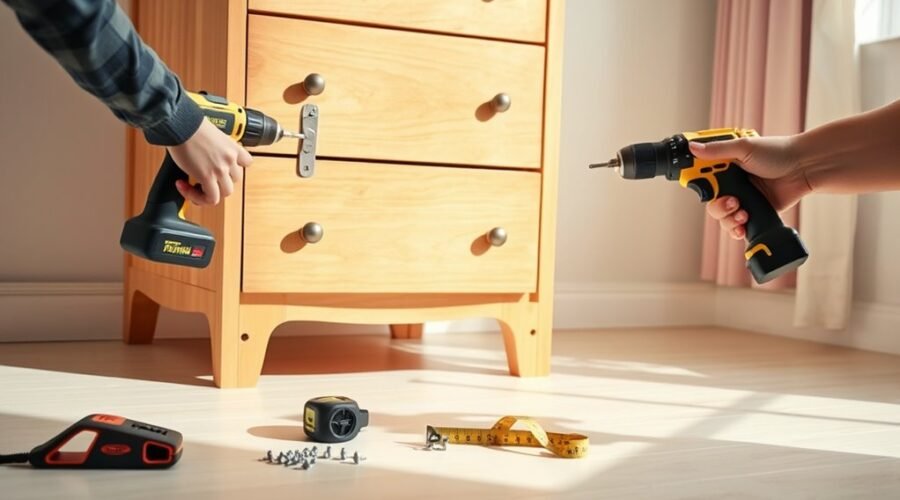
You can keep a heavy dresser from becoming a quiet hazard by anchoring it the right way. Choose a sturdy anti-tip kit with at least two straps, then find the wall studs with a stud finder and mark their centers. Attach the straps high on the dresser, fasten them into the studs, and tighten everything before you test the setup—because a few small details can make all the difference.
Key Takeaways
- Use a furniture anchor kit with two straps to improve dresser stability and reduce tip-over risk.
- Locate wall studs with a stud finder and mark the centers before drilling.
- Attach each strap to the dresser back about six inches below the top using pilot holes and screws.
- Secure the other strap ends into wall studs, keeping all hardware tight and flush.
- Tug-test the dresser after installation and inspect the anchors regularly for looseness or damage.
Why Anchor a Dresser to the Wall
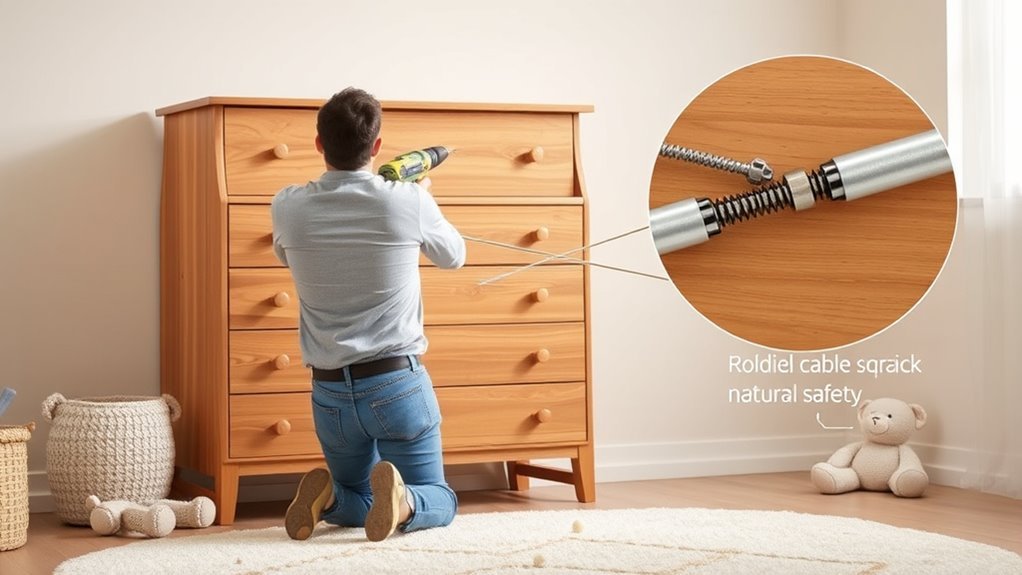
Anchoring a dresser to the wall helps prevent dangerous tip-over accidents that can cause serious injury or death, especially when children climb on drawers or pull items off the top. You reduce that risk by using furniture straps to anchor your furniture firmly to wall studs.
Anchoring a dresser to the wall helps prevent dangerous tip-over accidents and protects children from serious injury or death.
This matters because the U.S. Consumer Product Safety Commission reports a child needs emergency room care every 30 minutes after tipped furniture or TVs. Older dressers may not meet STURDY Act safety standards, so anchoring adds critical protection.
For Child Safety, install two straps per dresser to stop pivoting and improve stability. You don’t need a costly fix: many anchor kits cost under $15 and take about 15 minutes to install.
When you anchor your furniture, you create a safer home without giving up convenience, freedom, or peace of mind.
Choose a Dresser Anchor Kit
Choose a dresser anchor kit that’s built for strength and easy installation, like the Ougourim Furniture Anchors, which use durable stainless steel and are tested to ASTM safety standards.
Pick a dresser anchor kit with at least two straps per dresser so your furniture stays securely attached and better resists tip-over hazards.
Check that the package includes the needed hardware and clear instructions, so you can complete the job with a screwdriver and drill driver, not a pile of extra tools.
Read customer ratings before you buy; strong reviews help confirm real-world reliability and ease of use. The Ougourim set’s 4.7-star rating from nearly 1,900 reviews shows solid user confidence.
Also, match the kit to your wall type and make sure it’s designed for proper anchoring into studs.
When you choose well, you protect your space, your freedom, and the people who move through it.
Locate Wall Studs for the Dresser
Use a stud finder to locate the wooden or metal studs behind the dresser, since those supports are typically spaced about 16 inches apart in most walls. Move the stud finder slowly across the wall material until it beeps, then confirm each edge. Mark the center of every stud with a pencil so you can anchor furniture with accuracy and confidence.
| Step | Action | Result |
|---|---|---|
| 1 | Scan the wall | Find a stud |
| 2 | Verify the beep | Confirm support |
| 3 | Mark the center | Save the spot |
| 4 | Recheck spacing | Avoid errors |
Studs are usually less than two inches wide, so precise marks matter. Don’t drill into unconfirmed areas; that risks damage and weak attachment. If your wall material feels hard, you may need pilot holes for smoother screw insertion. Take your time here: careful locating gives you a secure, independent setup and helps your dresser stay in place.
Anchor the Dresser to the Wall
Secure the dresser to the wall by attaching at least two furniture straps to the back of the dresser and fastening them into the wall studs you marked earlier. Use long screws and, if needed, pilot holes so you don’t damage the wall while you secure the furniture anchors.
Place one strap about six inches below the top edge for stronger tip resistance. Pull both straps tight so the dresser can’t pivot or shift. This simple step helps prevent a dangerous tip-over and keeps your space open and free.
Place one strap near the top, then pull both tight to keep the dresser steady and tip-resistant.
- Picture the dresser standing firm, no wobble.
- See the straps lie flat against the back panel.
- Imagine screws biting into solid wood studs.
- Notice the gap between dresser and wall staying steady.
- Feel confident the setup won’t give way.
Inspect the straps and screws regularly. If anything loosens, retighten it right away to keep the anchor secure over time.
Secure the Wall Straps to Studs
Use a stud finder to locate the wall studs and mark each one clearly.
Drill pilot holes at the marked spots, then align the straps and fasten them with at least two screws into each stud.
Tighten the straps so they hold the dresser snugly and resist tipping.
Find the Wall Studs
First, locate the wall studs behind the dresser with a stud finder so you can anchor the straps into solid framing, not just drywall. To find the wall studs, move slowly across the wall and mark each stud’s edge with a pencil.
Most studs sit about 16 inches apart, giving you a reliable map for secure anchoring. Aim for at least two screws into each stud when you install the straps to prevent furniture tip-over.
- A stud finder glides across a smooth wall
- Pencil marks form a clear vertical guide
- The dresser stands steady and centered
- Strap points sit about six inches below the top
- Solid framing holds the load without wobble
Drill Pilot Holes
With the stud marks in place, drill pilot holes slightly smaller than the strap screws so they go in smoothly and don’t split the wood.
Choose a drill bit that matches your screw size closely, then hold it straight and bore into the marked studs at each strap location. Keep the holes centered on the pencil marks, especially if the stud area is narrow.
This step gives you control, protects the wood, and helps the anchor hold tight. Drill only as deep as needed for the screw length.
If a strap needs multiple screws, make each pilot hole with the same care. Clean away dust, then check that each hole lines up with the strap before you move on.
Fasten With Screws
Drive the screws through the wall straps and into the pilot holes you drilled in the studs. Use at least two screws per strap so your furniture stays anchored against tipping and you keep your space free from fear.
Tighten each screw until the straps sit flush, but don’t overdrive them.
- Feel the stud behind the wall
- See the pencil marks align
- Guide the straps flat
- Turn the screws firmly
- Tug the straps to test
After fastening, pull gently on each strap to confirm it holds. If it shifts, reset the screws in the stud and retighten.
Once the straps stay solid, your dresser can stand with greater safety and less risk.
Fasten the Straps to the Dresser
Mark the strap placement about six inches below the top of the dresser, keeping it aligned with the wall studs.
Drill pilot holes at each mark to make the screws go in cleanly and help protect the wood.
Then secure the straps with the included screws, and tighten them firmly so there’s no slack.
Mark Strap Placement
Use a stud finder to locate the wall studs behind the dresser, since anchoring into studs gives you the most stable and secure hold.
Now mark strap placement by measuring about six inches below the top edge, so you can anchor each strap where it’ll resist tipping best. Keep the straps at both ends of the dresser to spread force evenly for tip-over safety.
- Measure from the top edge
- Mark both rear corners
- Align with wall studs
- Keep the straps level
- Check each mark twice
Place a pencil mark on the dresser back where each strap will sit.
Use at least two screws per strap when you fasten them later, and make sure the marks give you a tight, balanced setup that supports freedom from accidents.
Drill Pilot Holes
Drill pilot holes at the marks you made about six inches below the top of the dresser, matching the hole size to the screws in your anchoring kit. Use a stud finder first so you know where the wall’s wooden or metal studs are, then keep each hole aligned with the straps. This lets you anchor the dresser with confidence and keeps the load balanced.
| Step | Action |
|---|---|
| 1 | Verify stud locations |
| 2 | Check strap alignment |
| 3 | drill pilot holes |
| 4 | Test fit the screws |
| 5 | Keep the dresser secured |
Drill straight, apply steady pressure, and stop once the bit reaches the needed depth. You want clean pilot holes, not damaged material. With careful placement, your dresser stays secured and ready for the next fastener.
Secure With Screws
With the pilot holes in place, you can fasten the straps to the dresser. Mark each strap about six inches below the top, then use a drill to secure with screws into solid wood or metal. Drive at least two screws per strap for reliable anchoring furniture, and add more straps on larger dressers for extra strength.
- Align the strap flat against the dresser
- Set screws into the pilot holes
- Press the drill steady as the bit turns
- Keep each fastener tight and flush
- Pull the straps to confirm tested furniture
After installation, tug firmly on every strap. If anything shifts, tighten the screws or reset them in stronger material.
When the straps hold without movement, your dresser stays anchored and safer in daily use.
Tighten and Test the Anchor
Pull the straps tight so there’s no slack between the dresser and the wall, creating a snug, stable fit. This helps your anchor resist tip-over force and keeps the dresser firmly in place. Use at least two straps on larger pieces so the load spreads evenly.
| Check | What you do | Result |
|---|---|---|
| Tension | Pull straps snug | No slack |
| Stability | Gently tug straps | No movement |
| Placement | Confirm studs | Strong hold |
| Hardware | Inspect screws | Secure mount |
| Maintenance | Recheck over time | Lasting safety |
Test each strap by giving it a firm, gentle pull. If anything shifts or feels loose, stop and verify that the screws bite into wall studs, not drywall alone. After the dresser is anchored, inspect the straps regularly, especially after you move or bump the furniture. Tight, tested straps give you dependable safety and more freedom to use your space with confidence.
Solve Common Dresser Anchor Problems
If your dresser anchor feels loose or won’t seat properly, check the studs first with a stud finder and make sure the screws are driven directly into solid framing. A weak anchor invites a furniture tip-over, so correct the base before you trust it.
- Mark each stud clearly
- Drill pilot holes if wood resists
- Use two wall straps on larger dressers
- Keep screws snug, not stripped
- Recheck after moving the dresser
If drilling meets heavy resistance, stop and reassess the wall. You may be off-stud, or hitting a hidden obstruction.
Follow the manufacturer’s instructions exactly, because mismatched hardware can loosen fast. For bigger dressers, install at least two furniture straps so the load can’t pivot from one point.
Follow the manufacturer’s instructions exactly, and use at least two straps so the dresser stays secure.
After setup, test the anchor by pulling gently, then inspect it regularly, especially after rearranging the room. You’re building a safer space, and that freedom starts with hardware that holds.
Frequently Asked Questions
How to Stop a Dresser From Tipping Over?
To stop a dresser from tipping over, you should improve furniture stability by installing wall anchoring straps and securing them into wall studs.
Use at least two straps on larger dressers so they can’t pivot. Check the fittings regularly and tighten them when needed.
For child safety, keep kids from climbing or pulling on the dresser.
Strong wall anchoring gives you a safer, freer home.
Can You Anchor a Dresser to the Wall?
Yes, you can anchor a dresser to the wall for dressing room safety and stronger furniture stability tips.
Use an anti-tip kit, like one with two stainless steel straps, and fasten it into wall studs for maximum hold. You’ll get better protection than with plastic hardware, and you can usually finish the job in about 15 minutes.
This child proofing essential helps you keep your space secure and free.
What Is the Best Way to Securely Anchor Furniture to the Wall?
A fortress-worthy anchor setup gives you the best furniture stability. You should use at least two straps per piece, find wall studs with a stud finder, and drive long screws into them for maximum wall safety.
Place straps at least six inches below the top and follow the kit’s instructions exactly. Don’t rely on drywall alone.
These childproofing tips help you secure your space and move through it with confidence.
How to Secure Furniture to Walls to Stop Them Falling Over?
Use at least two furniture straps per piece, find studs with a stud finder, and drive long screws straight into them.
Choose wall anchor types that match your wall, then tighten everything to the manufacturer’s specs.
Test each strap by pulling firmly, and inspect hardware regularly.
These furniture safety steps support childproofing tips and keep you from living under the threat of a toppled dresser or shelf.
Conclusion
Now you’ve locked that dresser down like it’s welded to the wall, and you’ve made a huge safety win. With sturdy straps, solid studs, and tight screws, your dresser is far less likely to tip, shift, or become a disaster waiting to happen. Give the anchor a quick check now and then, and tighten anything loose. A few minutes of work can protect your home and give you real peace of mind.